It's been over three and a half years since I've updated my Volvo's Web pages. Nothing "big" has happened during this time. All I did -- when time allowed -- was finishing off the interior and taking care of odds and ends. As so often, my newer toys got most of the attention and the Volvo got pushed back.
But never late than never, so the saga continues . . .
Click on the above image for an XXL-sized view (950 x 593 pixels)
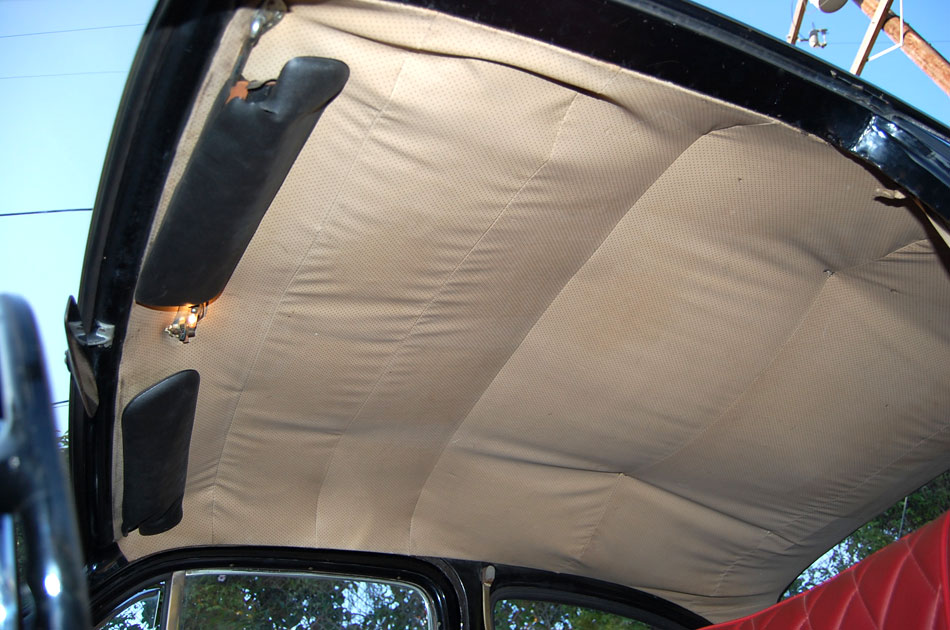
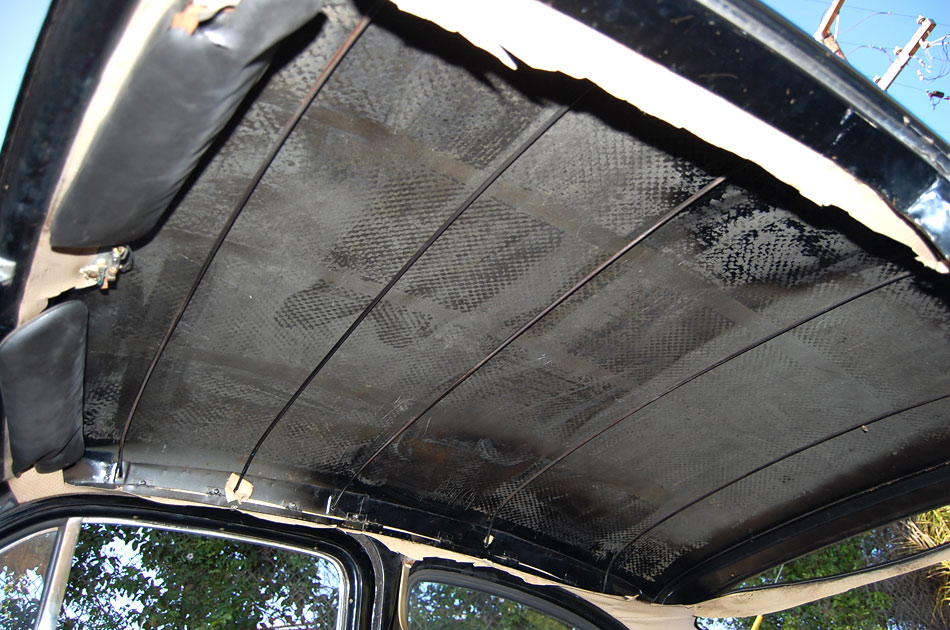
What begged to be done was replacing the 50+ year-old headliner with a new one. The insulation material had deteriated and following the law of gravity fallen down, making the headliner puffy and pushing it toward the rear passengers' heads.
|
|
|
Click on any of the above images for a full-size view
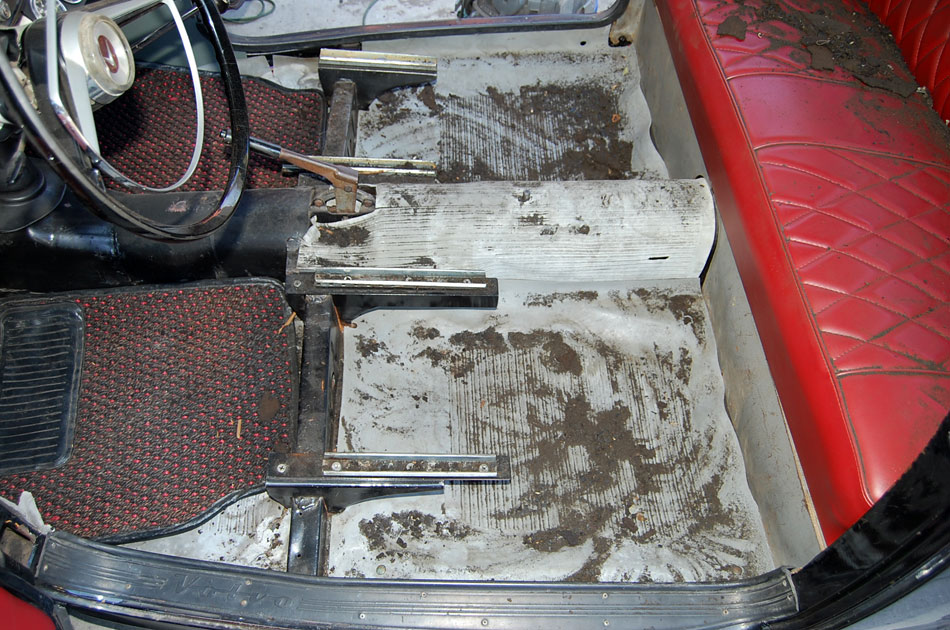
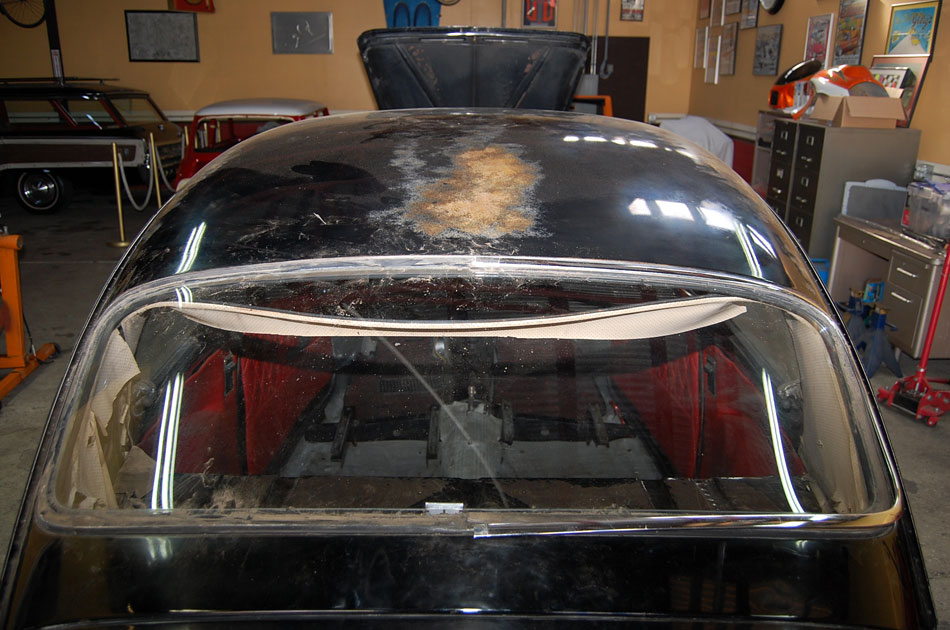
Changing the headliner is a big deal. Front and rear windows have to come out, the nasty stuff has to be scraped off the roof, and it all rains down and leaves a dirty mess.

Click on the above image for an XXL-sized view (900 x pixels)
But looking at the result, I have to admit that I'm pleased. New front and rear window seals cost $59.47 each, the O.E.M. headliner $167.67, plus shipping cost of $11.75. Installation of the new headliner plus all new windlacing at Gold Coast Upholstery here in Ventura cost me $300 cash. Note that I also invested an additional $10 into a good used dome light lense, bringing the total damage for this operation up to $608.36.

|

|

|
Click on any of the above images for a full-size view
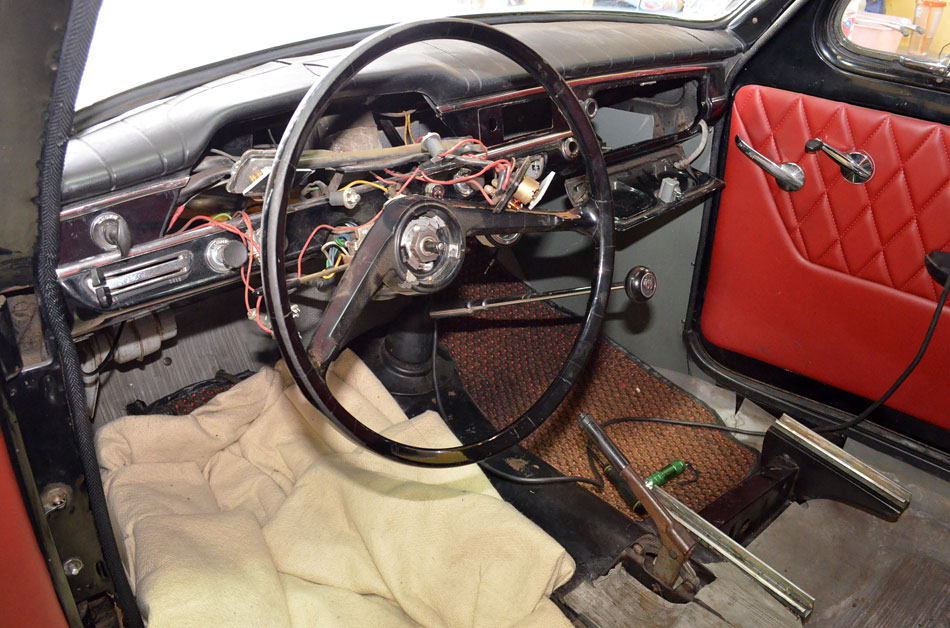
With the new headliner installed, yet the windshield still out, it was the perfect time to remove the old trashboard and replace it with a good used dash top, which I had purchased from a fellow Volvo owner already back in July of 2008.

Click on the above image for an XXL-sized view (900 x pixels)
The metal below the trashboard had heavy surface rust, but removing it, priming and painting the surface, and glueing the new dashboard top in place was a straight forward affair.
|
|
|
|
Click on any of the above images for a full-size view
My opinion regarding interior noise had changed as well.
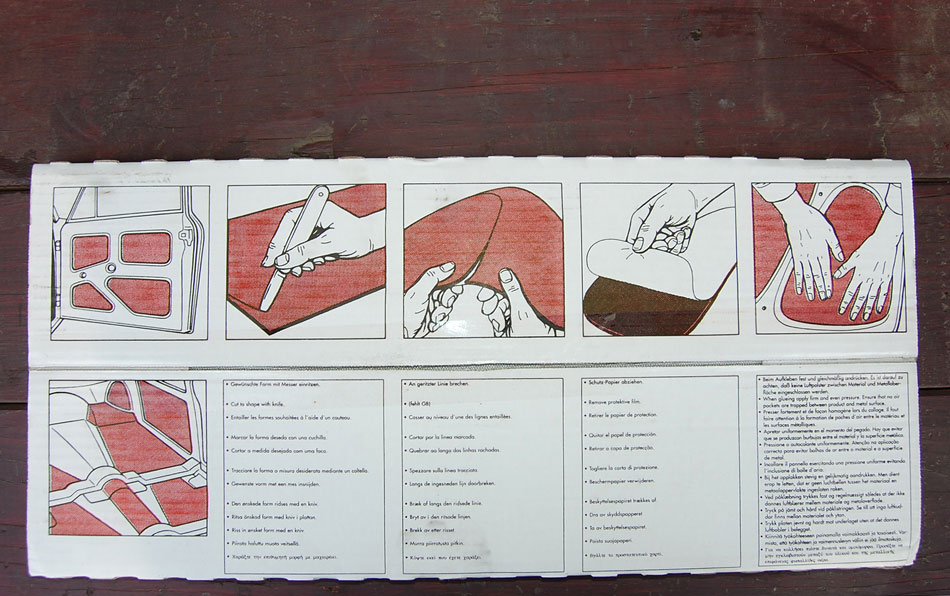
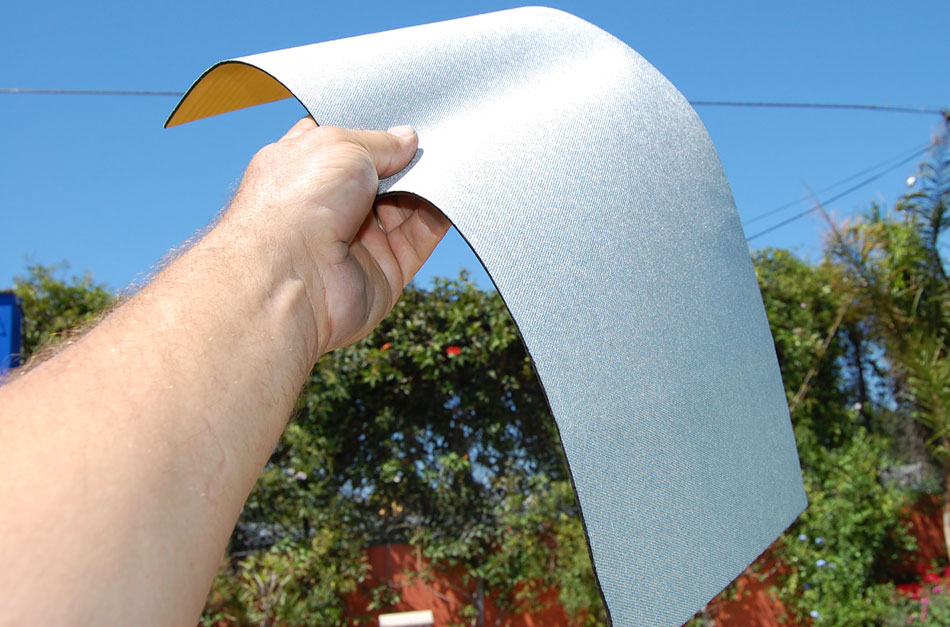
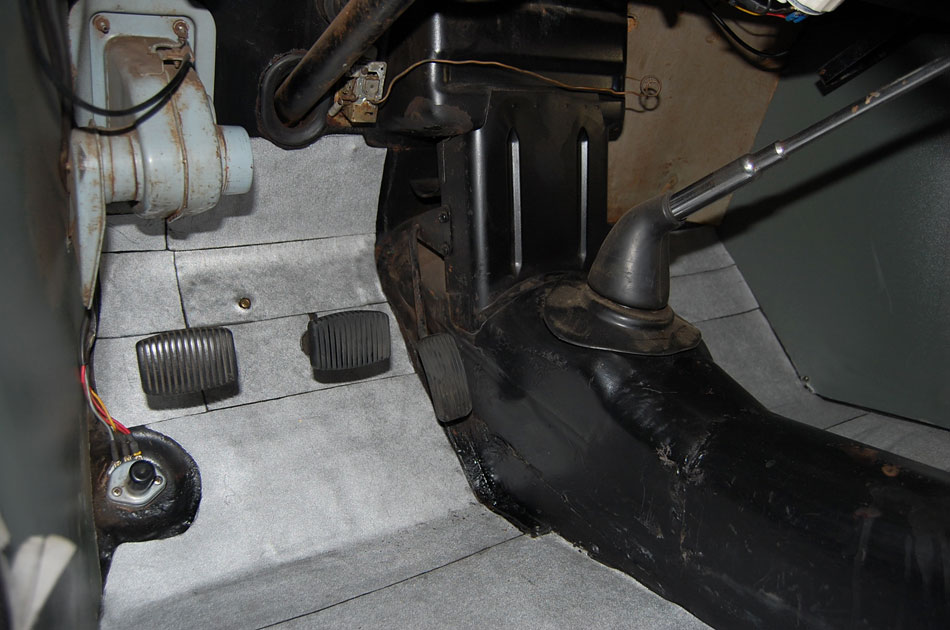
I found a wonderful, tar-based product with self-adhesive backing, manufactured by Würth in Germany and spent one Saturday installing it on the floor pans. That stuff really reduced road noise a great deal, and I highly recommend it.
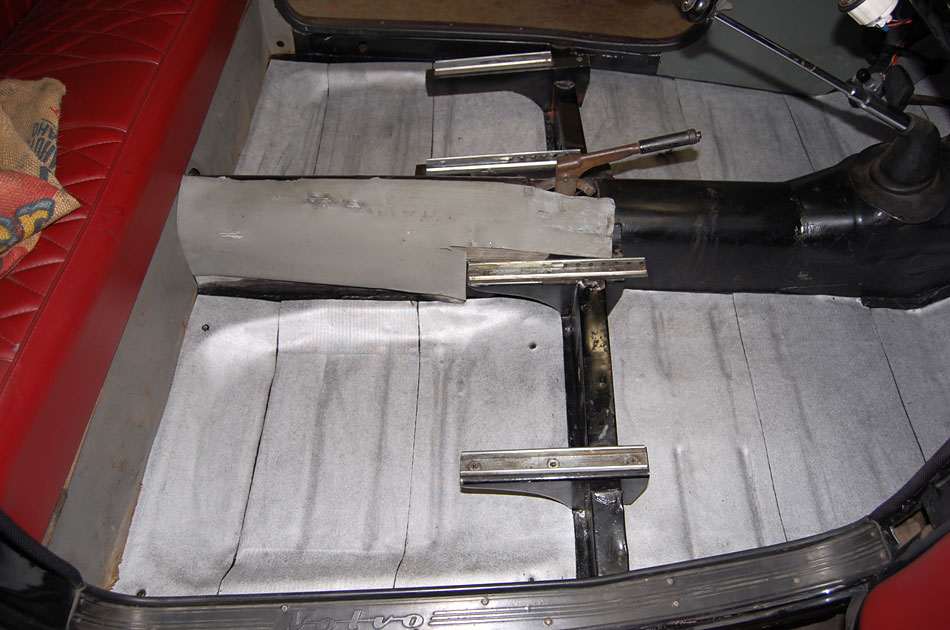
Click on the above image for an XXL-sized view (900 x pixels)
The next logical step was to order the firewall insulation mat and button set from Swedish Treasures.

Click on the above image for an XXL-sized view (900 x pixels)
It turned out quite difficult to install it at the driver's side, where I had to work magic with the razor blade and sizzers to make it fit.
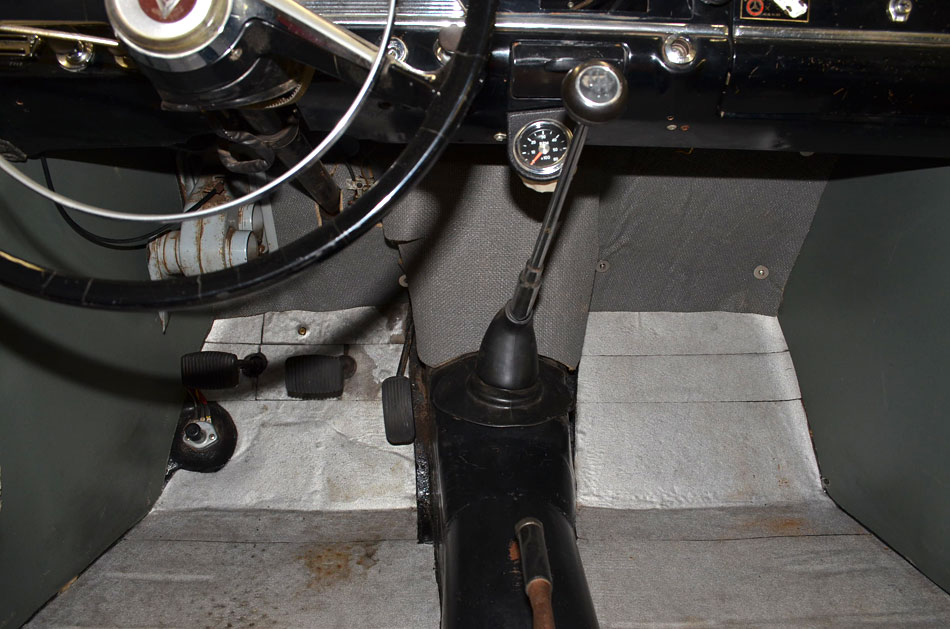
Click on the above image for an XXL-sized view (900 x pixels)
But when all was said and done, it looked splendid.
Click on the above image for an XXL-sized view (900 x pixels)
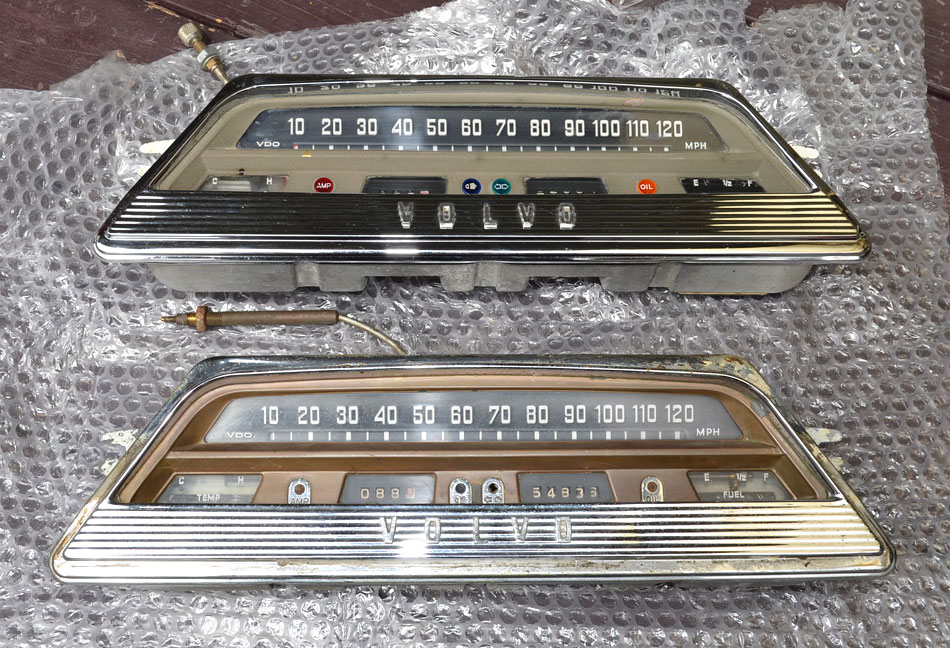
The odometer on my Volvo never worked, which didn't really bother me, but when the speedometer stopped working, I got busy. The new speedometer cable I installed didn't help, as the instrument mechanism was frozen. Luckily, in December of 2013 I found a complete instrument cluster on eBay for $125 plus shipping from Canada, for a grand total of $152.99.
|
|
Click on any of the above images for a full-size view
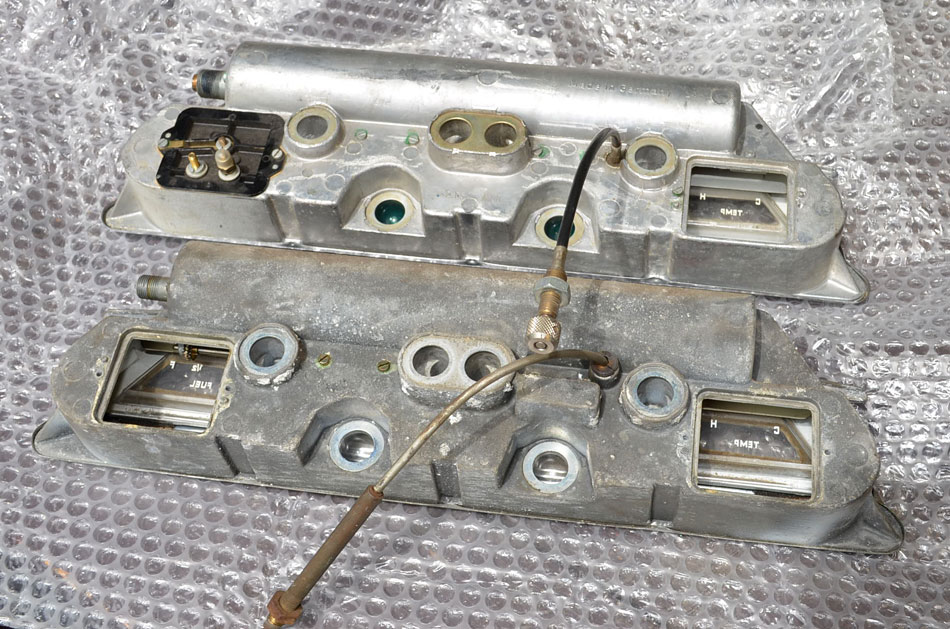
As I only later found out, this cluster was for the lastest PV544 cars, from late 1963 until production end in 1965. The idiot lights got bigger and a more visible design, the speedometer cable increased in diameter, and the illumination changed from pale white to an eery green.
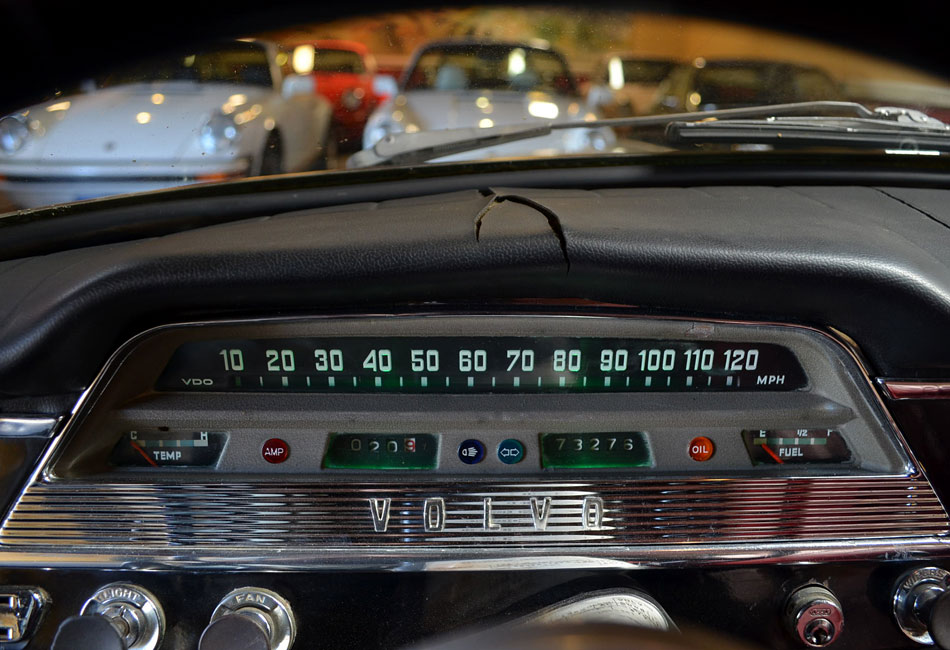
Click on the above image for an XXL-sized view (900 x pixels)
Installation is as big a deal as you may imagine, and having a baby octupus on standby helps a lot. But, once again, when installed, and everything working as it should, the pain and suffering associated with the job is quickly forgotten.
-----------------------------------------------------
It's been about 4 years since I've updated this page. Truth being told, the old Swede runs and runs and runs, with no issues to report. I change engine oil and filter every 3,000 miles (running 5W-40 Synthetic for a few years now), at which time I grease all the lubrication points on the chassis religiously. I check plugs and points about once a year and synchronize the SU carburetors. I don't hesitate to cruise at 4,000 rpm on the freeway, and other than that I just watch the 55 year-old paint continue to deteriate. Only change is a Volvo-labeled Blaupunkt Stereo that I discovered in its original box in the trunk of an 1800E Coupe we acquired. The car's armored ignition coil is still the original one, and even the Vredestein tires I got used off eBay a few years back are still on the car. I add about 3,000 miles per year to the total mileage and do not anticipate any serious problems in the near future. This old Volvo has been as loyal to me as Lassy had been to lil' Jeff. What more could I ask for?
Interestingly, a few years back it was featured on the Interwebs.
To be continued . . . eventually.
Last updated on Tuesday, January 9, 2018.