As strange as it may sound, for quite a while I've found myself wanting for a classic car that looked like it had a long, hard life and would be owned by someone who either struggled financially, or didn't care, or both. However, defying its prima facie appearance, the car would be healthy and perform like a sports car in disguise when asked to. Some people refer to such a car as a beater, others as a sleeper; looking at my business partner Bill's '50 Buick, my daughter Carissa came up with the term "scary car," which works for me.
|
|
|
Click on any of the above images for a full-size view
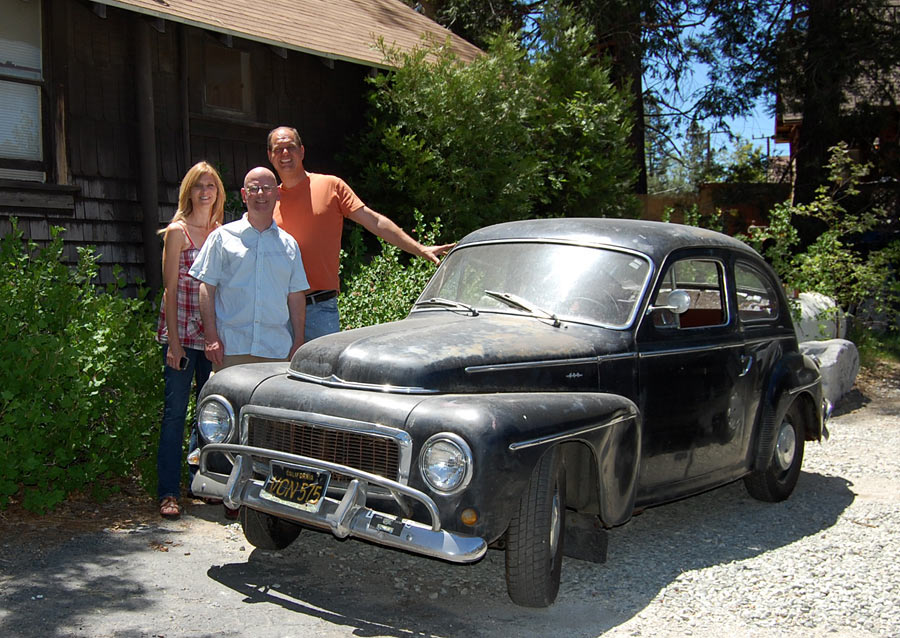
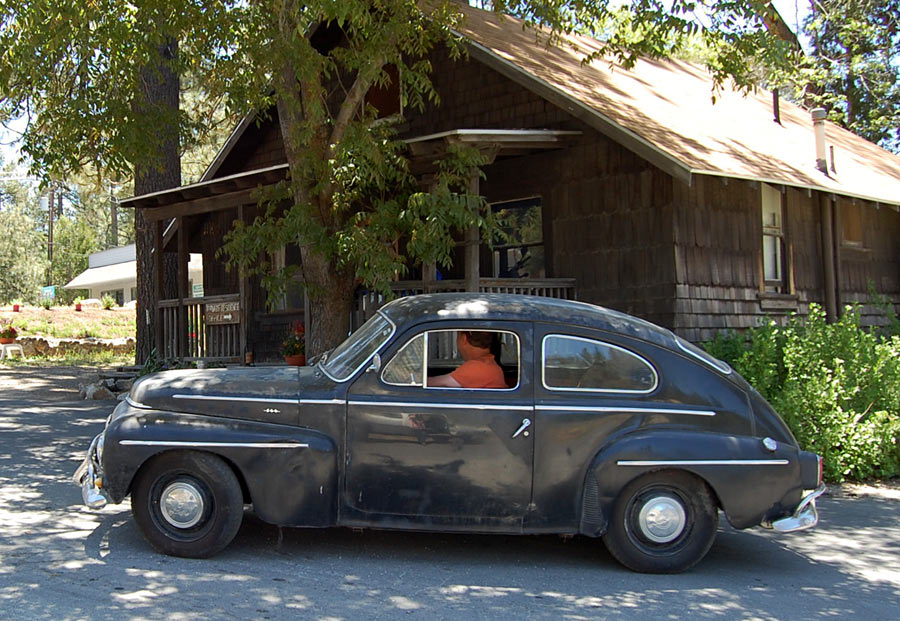
Then, early in May of 2008, our friend Andrew from Idyllwild offered us a 1962 Volvo PV544 Sport, a car that lived in that beautiful mountain community most of its life. Interestingly, it's the very car that Nate Lowman, a now wildly famous NYC artist/celebrity and former boyfriend of Mary Kate Olsen, learned to drive on when he was 16 years young.
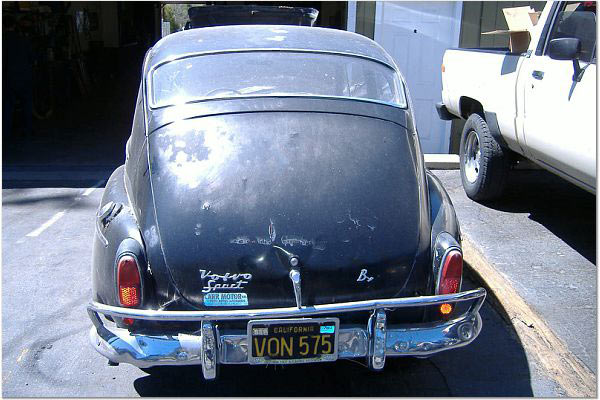
Since original black paint and California black license plates are words that float my boat, Andrew didn't have to twist my arm very long until I sent him the $1,000 purchase price, not a bad deal considering that he had just paid $373 to the DMV plus a couple hundred bucks to the local mechanic to awaken the humpback from its hibernation.
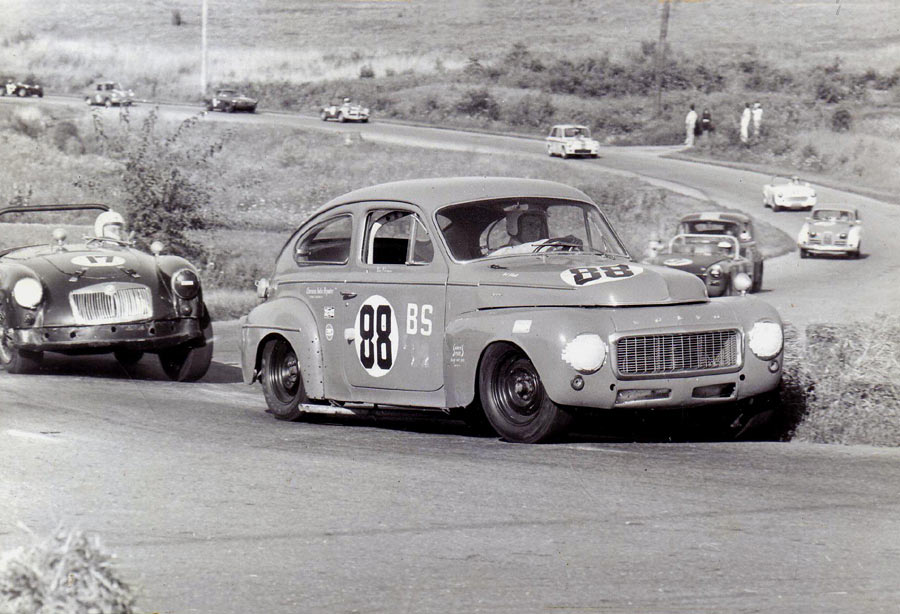
Nineteen sixty-two was a special year for the PV544 as it was the first year the car received 12-volt electrics and the much improved 1.8-liter B18 engine from the P1800S "Saint" sports car. In Sport trim, twin SU carburetors provided 90 horsepower, exactly the same as a contemporary Porsche 356 Super 90 was blessed with. Equipped with a super low, yet stock 4.56 rear end ratio, the Volvo would give the Porsche a run for the money at the stoplight!
|
|
Click on any of the above images for a full-size view
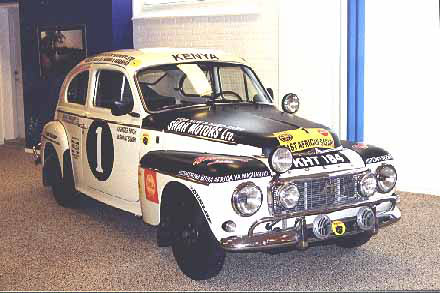
Made from top quality Swedish steel, but weighing in at only 2,050 lbs. (for comparison: a new Volvo C70 Sports Coupe weighs 3,627 lbs. and even a NEW MINI weighs 2,672 lbs.), the Volvo PV544 Sport proved almost indestructible and enjoyed a successful carreer in motorsports. In 1965, Joginder Singh achieved an overall win of the gruelsome Safari Rally, using a second hand car from 1963. Other PV544 models were road raced successfully in SCCA as a "B Sedans" (B/S), often many years beyond 1965, when after 18 years the cars' production ended.
Click on the above image for an XXL-sized view (900 x 605 pixels)
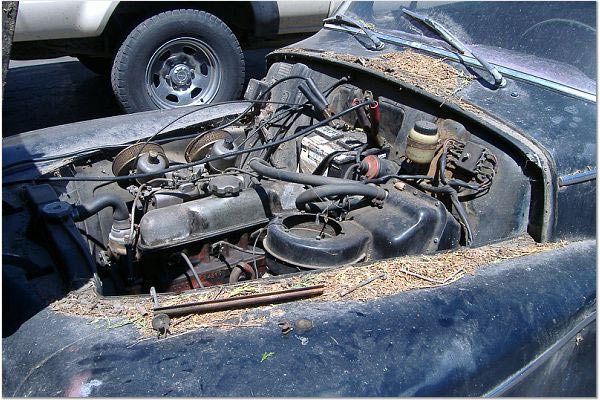
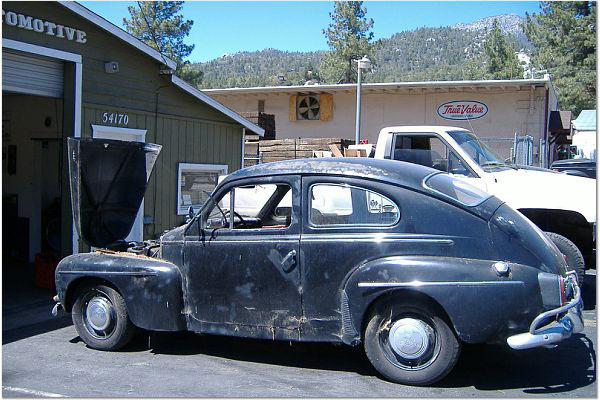
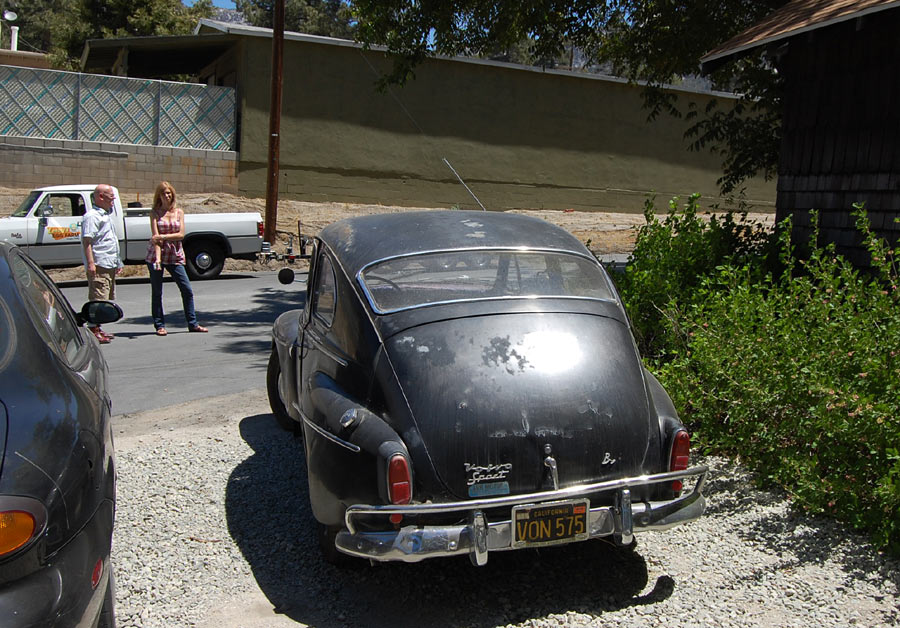
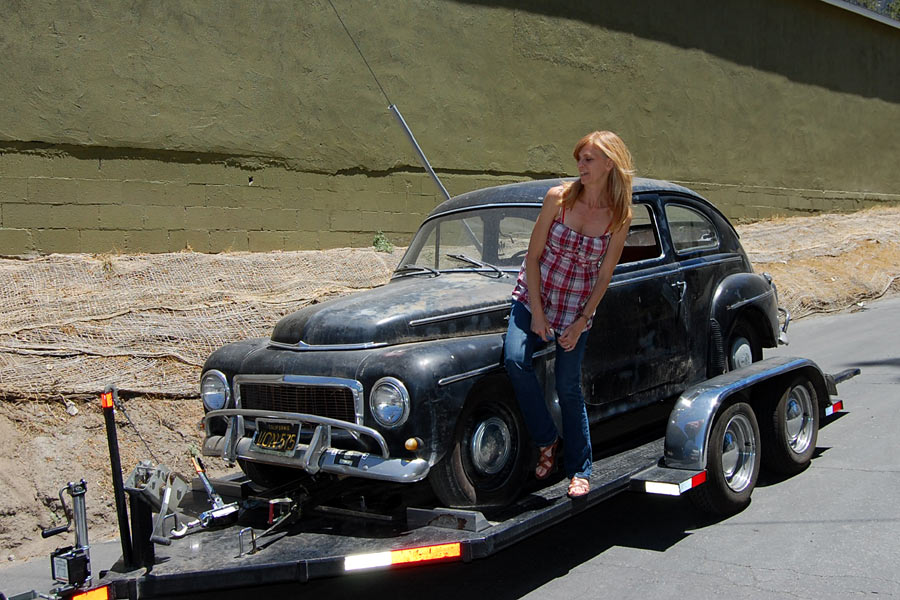
A weekend after paying for the car, my wife Tracie and I went on a day trip to Idyllwild to pick up the olde Swede.
Accompanied by Andrew, we found the Volvo as promised: crusted, the original paint worn down, with dings and dents in about every body panel. A very aged, red vinyl interior with genuine rubber flooring provided consistency. Alrighty!
One turn of the ignition key and . . . voila . . . the twin-carb B18 fired right up!
|
|
|
|
|
|
Click on any of the above images for a full-size view
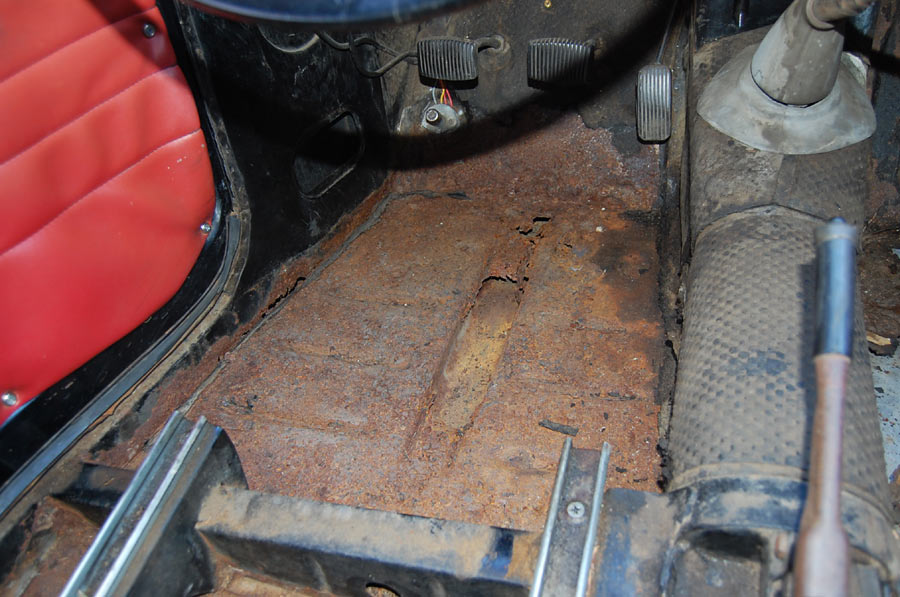
After a delightful and most memorable lunch at Idyllwild's hot spot, we loaded the Volvo, at which time I noticed a nearly new exhaust system and some floor pan rust in the right front. Oh, well . . .
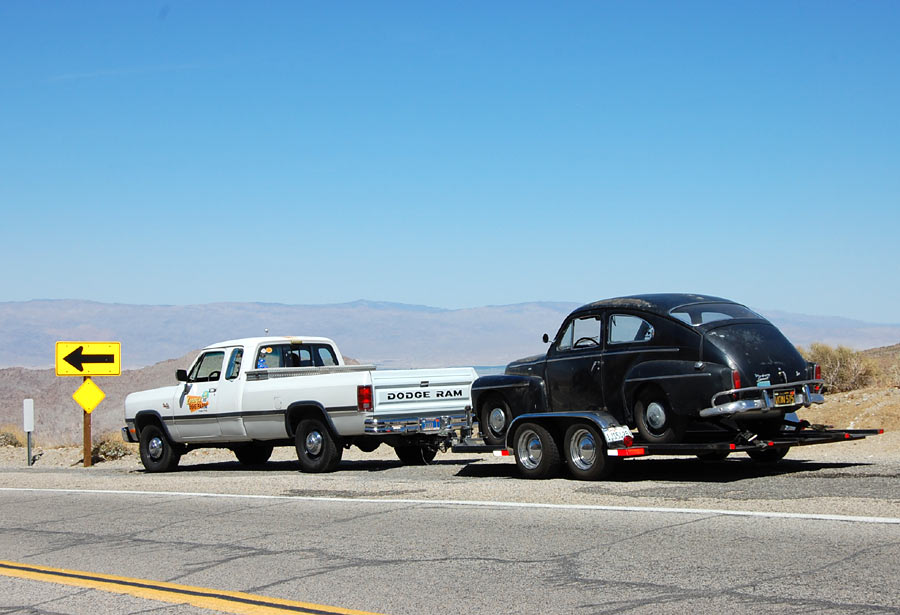
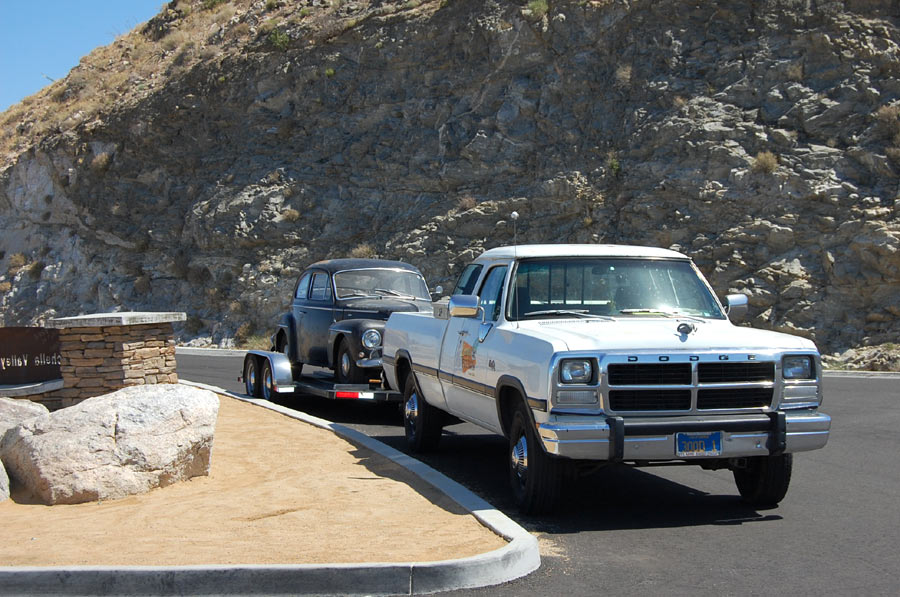
We took the scenic route via back roads to I-10, leading us through a twisty mountain pass and 110-degree hot Desert Hot Springs, at which time I realized that my truck's air conditioning didn't blow cold air anymore. Great!
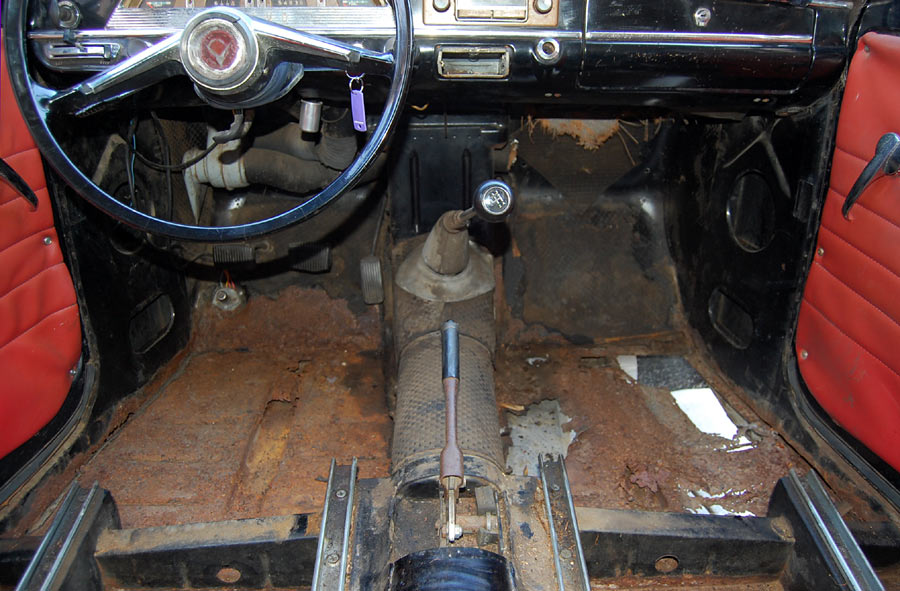
Back home, I drove the Volvo for a day "as is" to assess its needs. As stated, I have no intention to "restore" it, but the car needs to be sound, rust free, fully sorted, and must have a healthy heart, good suspension, steering, and brakes.

|
|
Click on any of the above images for a full-size view
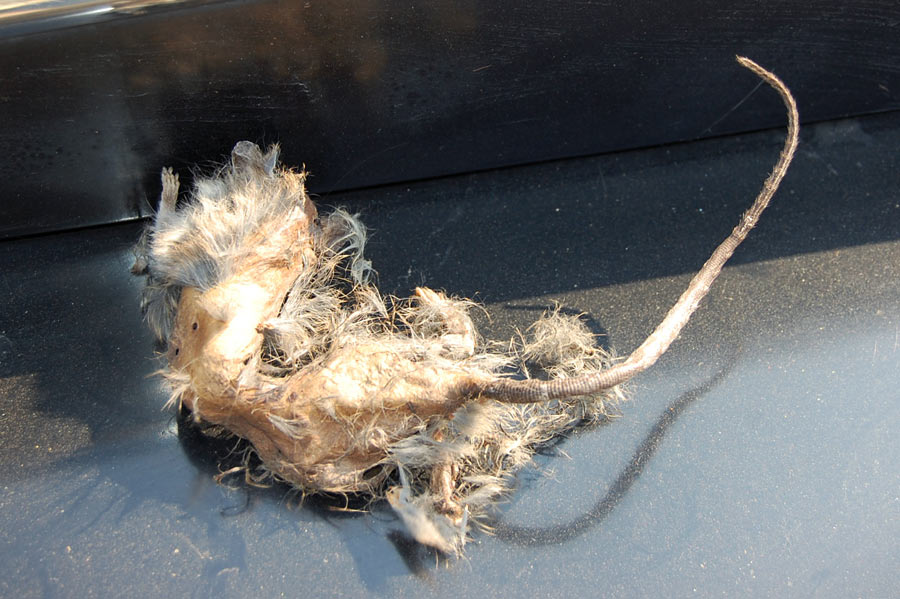
The next day, after removing the rear seat, I found an empty rodent's nest. Only minutes later its long deceased, former occupant turned up under the driver's seat. In retrospective I think wearing gloves wouldn't have been a bad idea . . .
Click on the above image for an XXL-sized view (900 x 591 pixels)
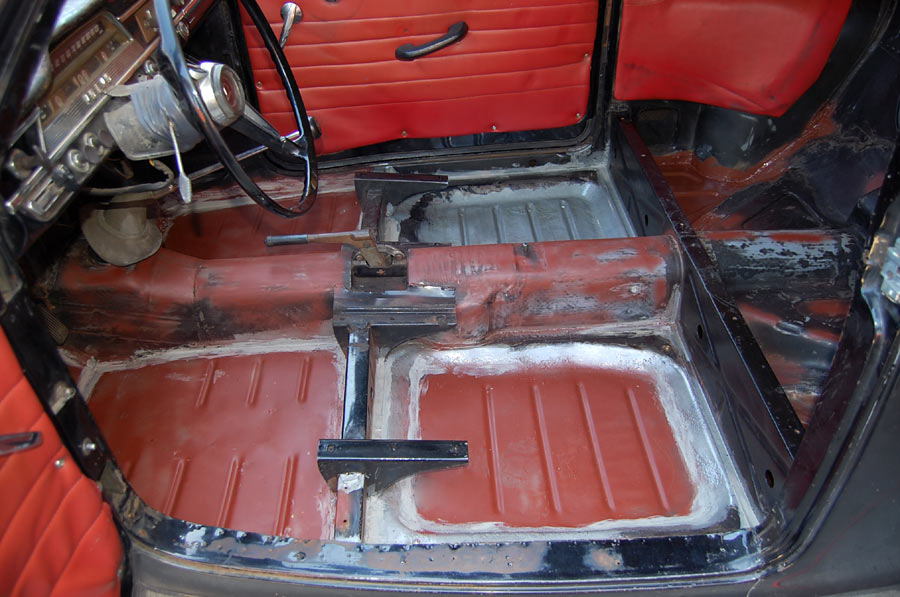
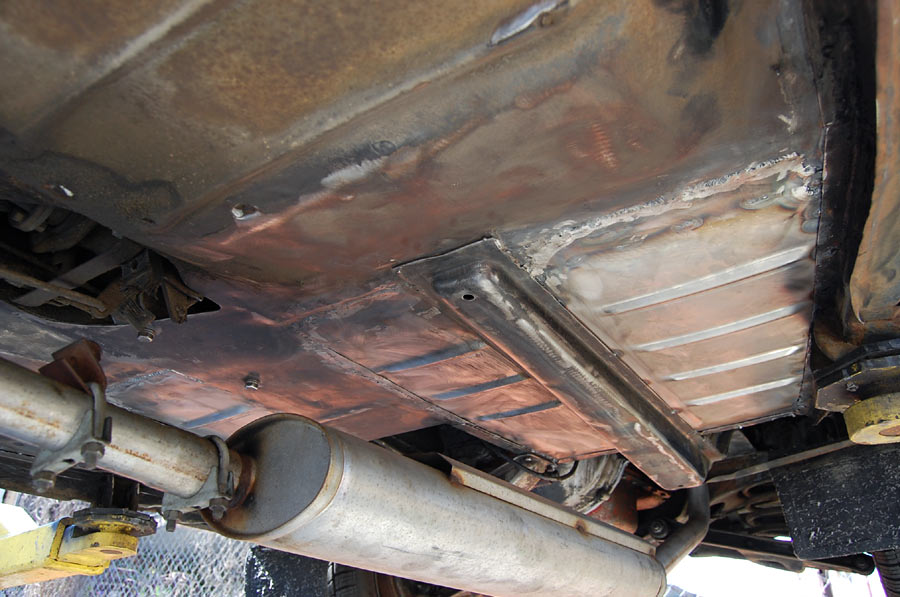
After carefully removing the
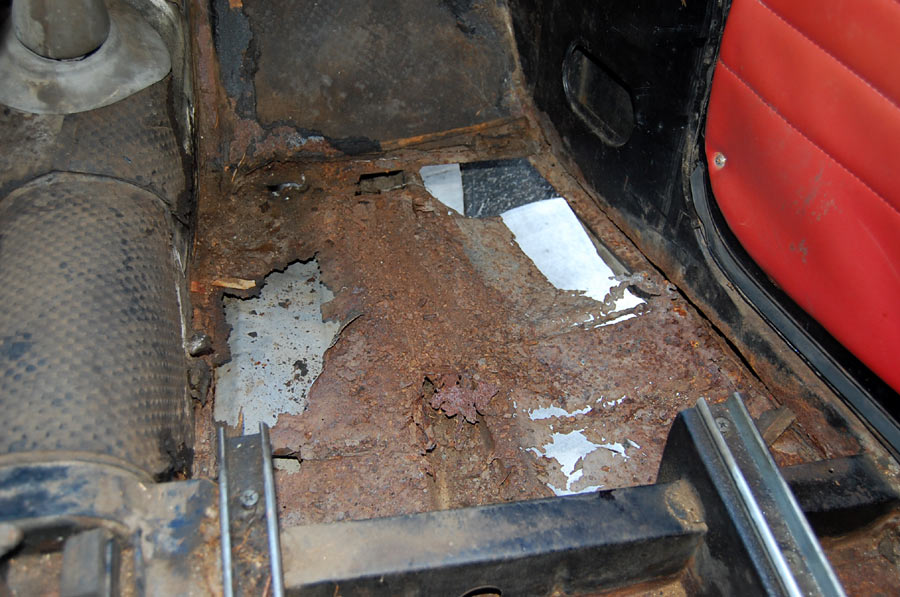
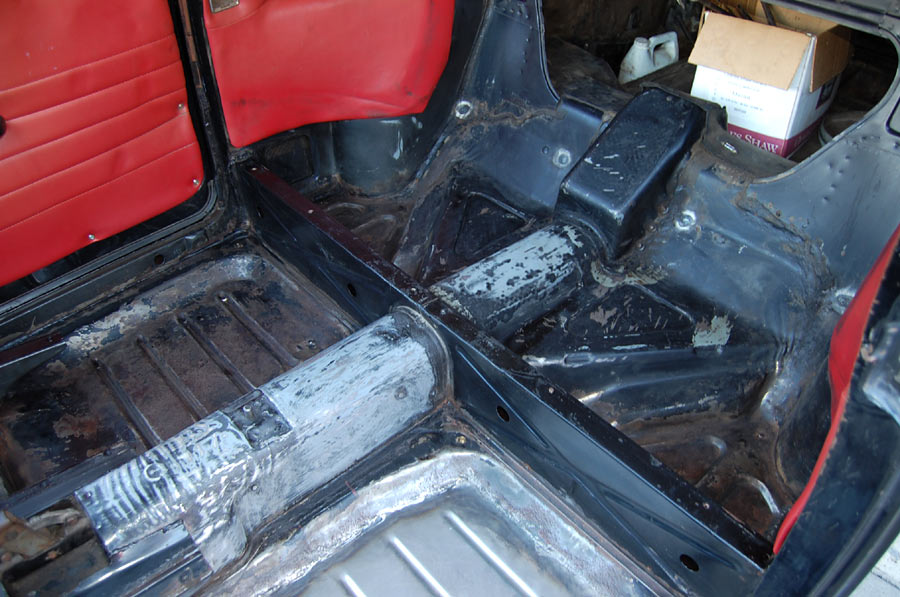
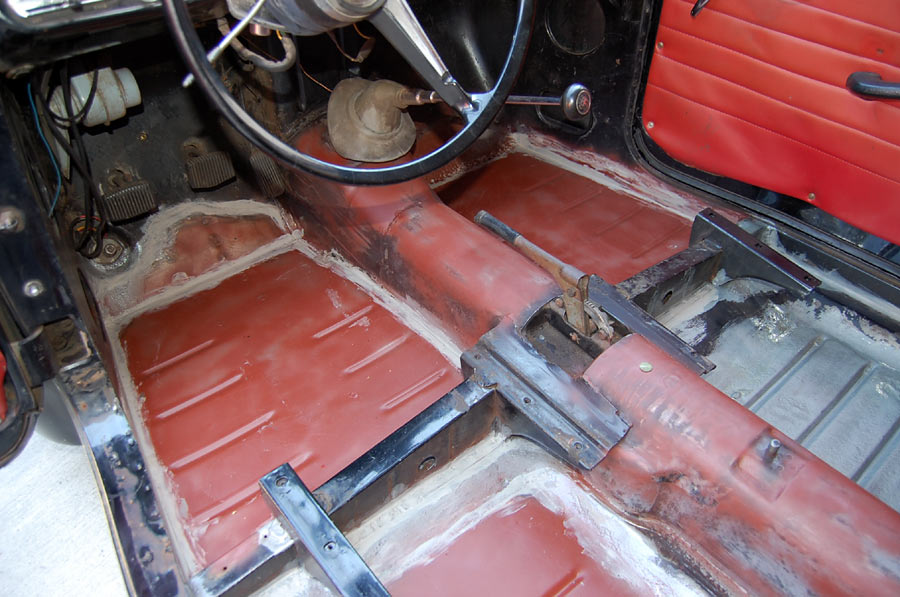
Unfortunately, in the front even the lower edges of the inner rocker panels (where the floor pans are welded to) had rust and were in need of partial replacement. Luckily, the longitudinal sub frame rails below the front floor pans were solid.
At this point, following our own advise to never buy a rusty car, I could--and perhaps should--have just abandoned the project and sold it. Most likely I would have been able to recoup my money, perhaps even make a few extra bucks. But in this case pride trumped reason and, being in the business, I took on the challenge using my experience and connections.
|
|
|

|

|
|
|
|
|

|
|
|
Click on any of the above images for a full-size view
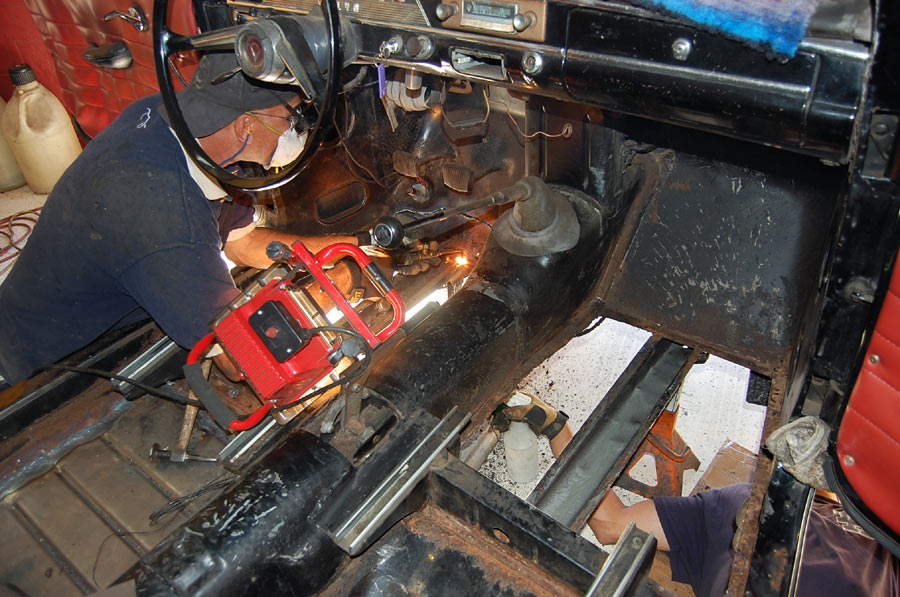
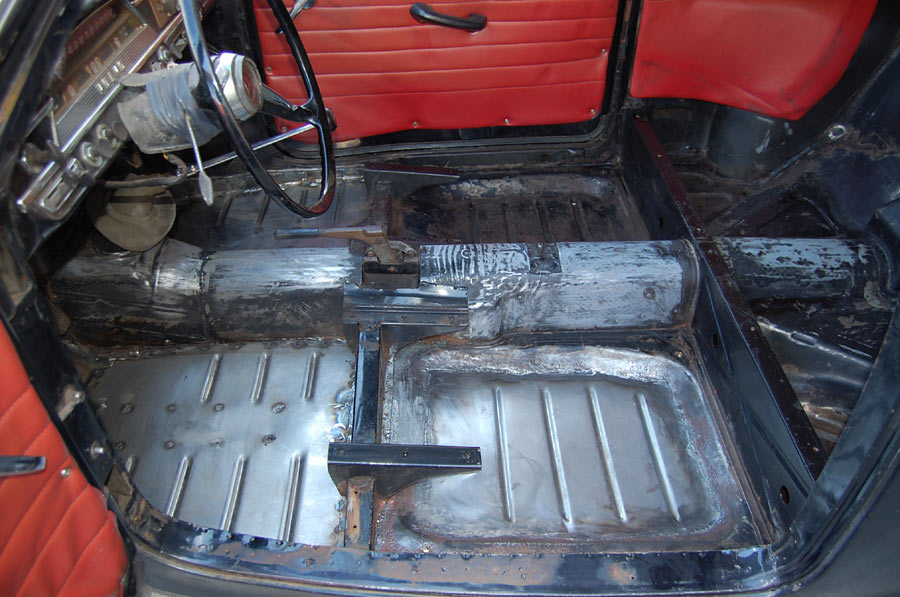
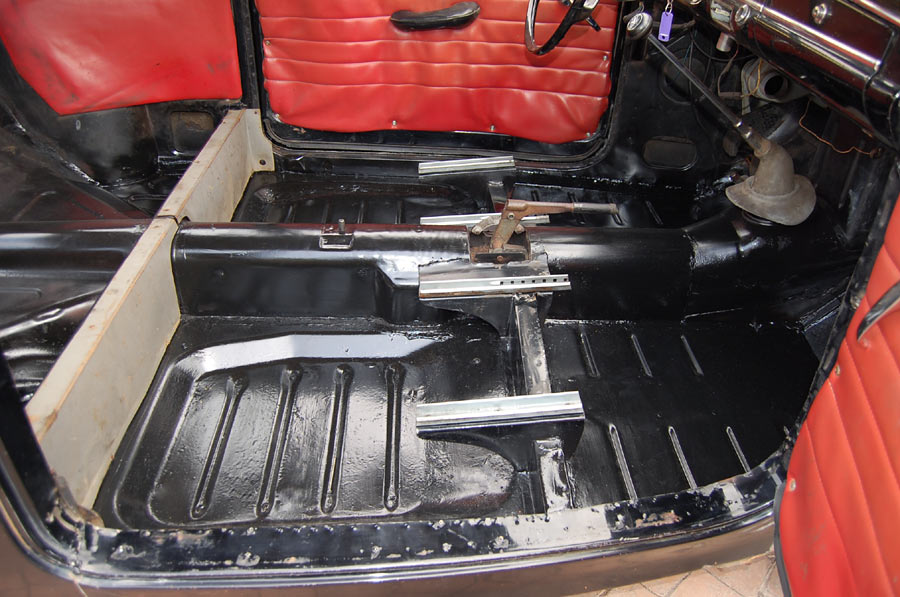
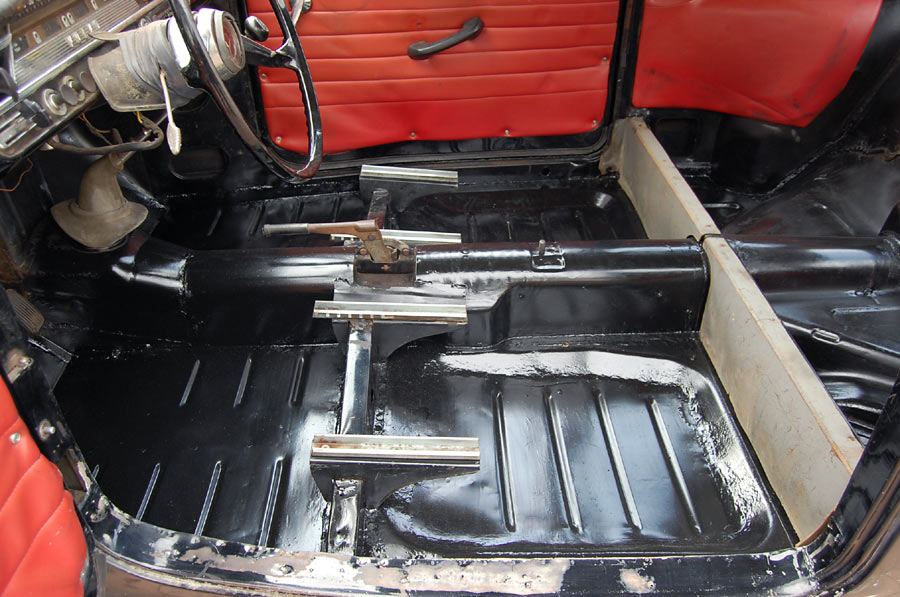
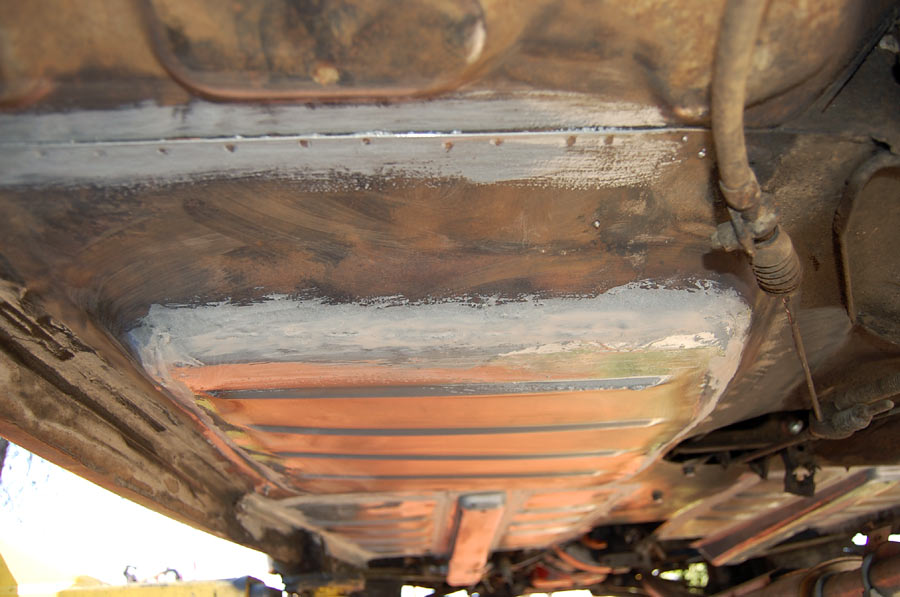
I ordered new floor pans and asked Porsche wizard Joe George, arguably the best metal man in SoCal, to weld them in. Although it started out as a nasty job, when finished, butt and spot welded, seam-sealed, primered, painted, and naturally aged, only an expert should be able to tell that metal surgery was performed at all. As with restorations in general, a competent restorer will leave no trace; a "perfectly" restored car will look like a superbly preserved original that has never been restored.
|
|
|
|
|
|
Click on any of the above images for a full-size view
If undercoating is used, hiding repairs is easy. But undercoating is not only ugly, once it gets damaged, humidity can crawl in and underneath, thus allowing the devil rust to work silently, out of view . . . until the damage is done.
For that reason "undercoating" has become a dirty word in classic car circles and I simply don't use it.
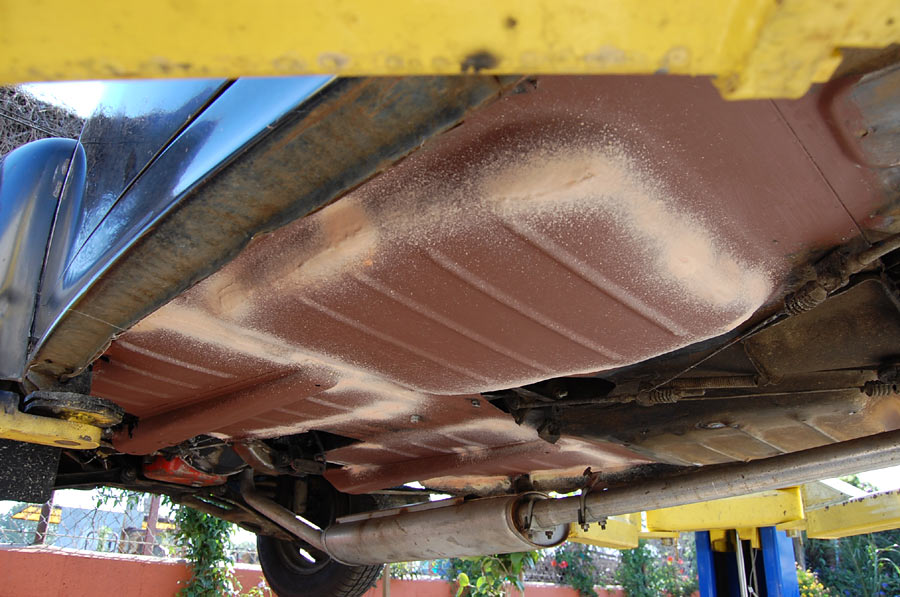
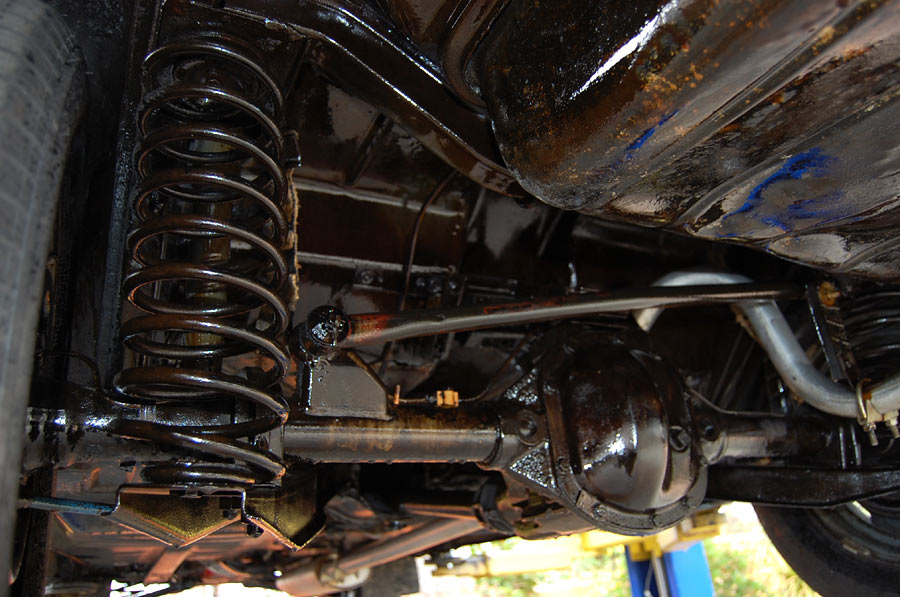
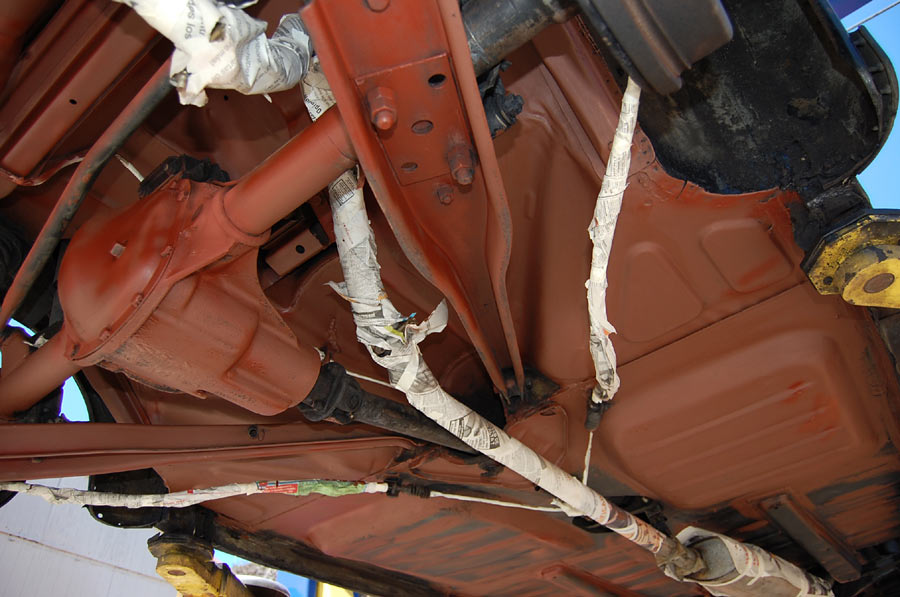
In order to add lightness and prevent rust to ever nest-in again, I removed all of the tar-like insulation on the inside and decided to clean, media-blast, fertanize, wire-brush, hand-sand, primer, then finally paint the entire undercarriage in semi-flat black. While that's certainly a time consuming and rather nasty job, it'll be well worth the effort as it duplicates the factory look, slightly aged!
|
|
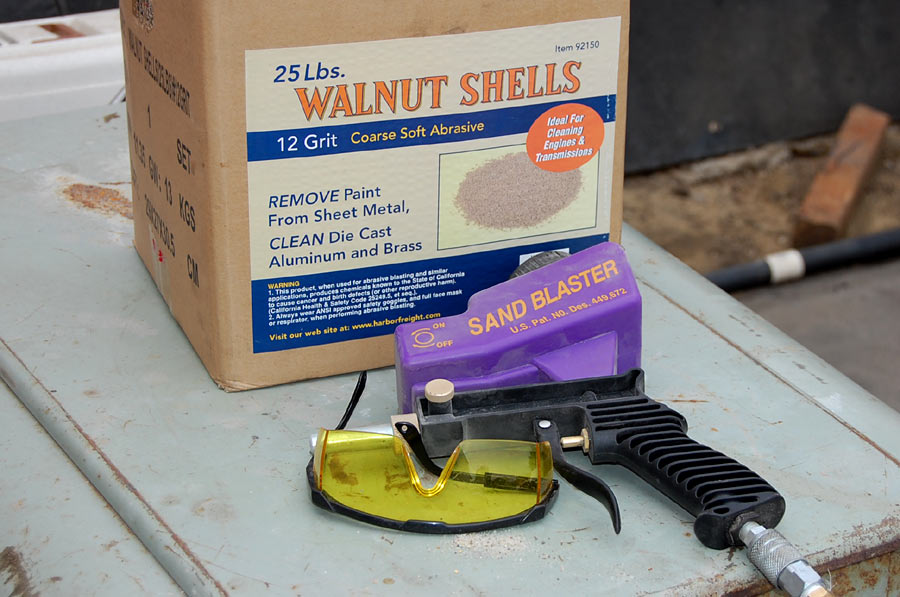
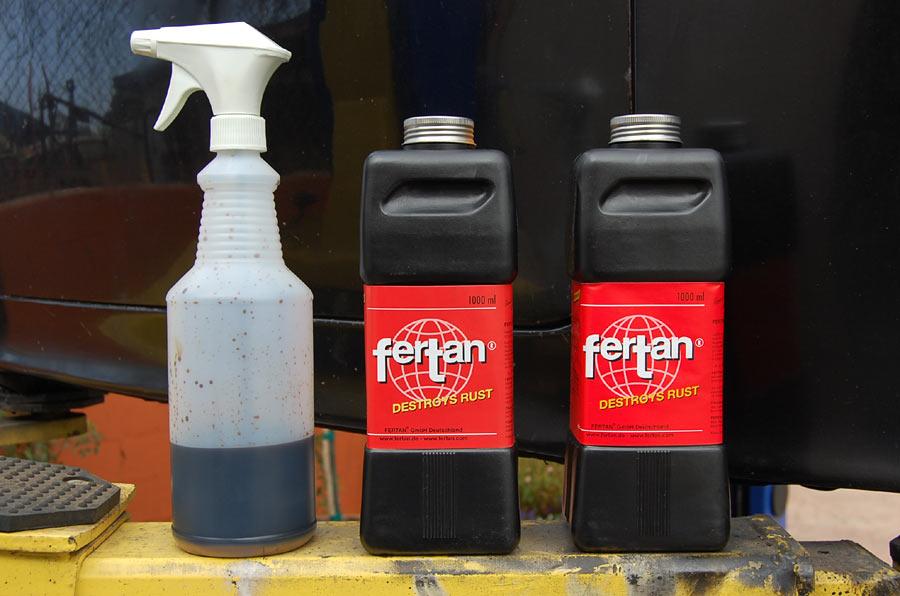
Unfortunately, media-blasting with walnut shells turned out to be a disappointment. The media bounced off the undercarriage and attacked my face. After a few minutes I gave up and turned to Fertan as I have a lot of experience with it.
|
|
|
Developed in Germany and one of the best kept secrets this side of the pond, Fertan is a--fully biogradable--chemical rust remover that really works. You spray it on, using a simple spray bottle and/or brush, leave it alone for a day or two, then rinse it off.
Where Fertan hits rust, it looses it; where it hits healthy but naked metal, it bonds with it and leaves a black, paintable surface. Fertain is neutral to other surfaces, i.e., painted metal or plastic, meaning nothing happens, except that it slightly stains light surfaces including paint and--keep this in mind--human skin. So you need to wear a long sleeve shirt, a cap, and gloves, otherwise your hands will look for about two weeks like you worked underneath a dirty car and forgot to clean them afterward!
Click on the above image for an XXL-sized view (900 x 597 pixels)
I always use Fertan twice, each treatment 2 or 3 days apart. A whole undercarriage will take about 2 liters per treatment, so you might want to buy a gallon and save.
|
|
|
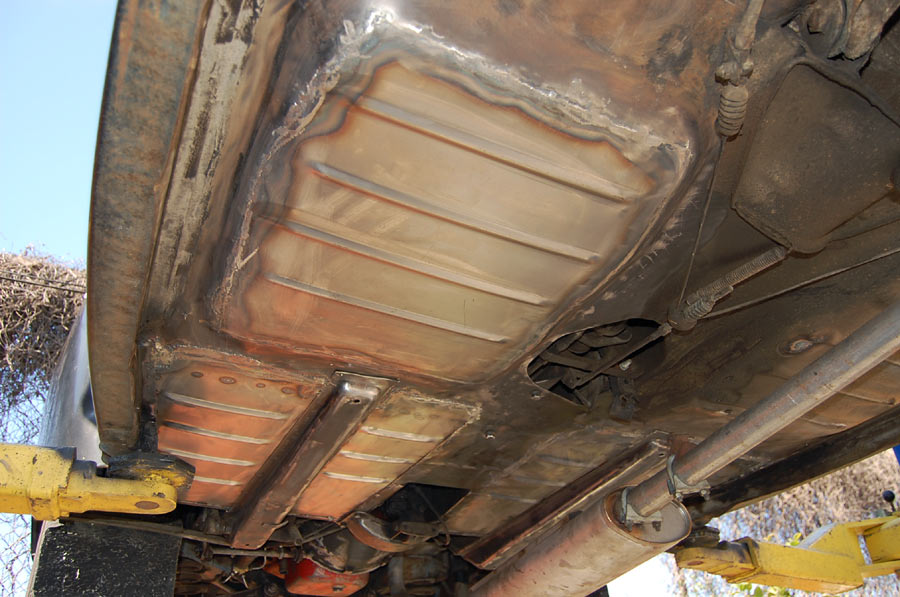
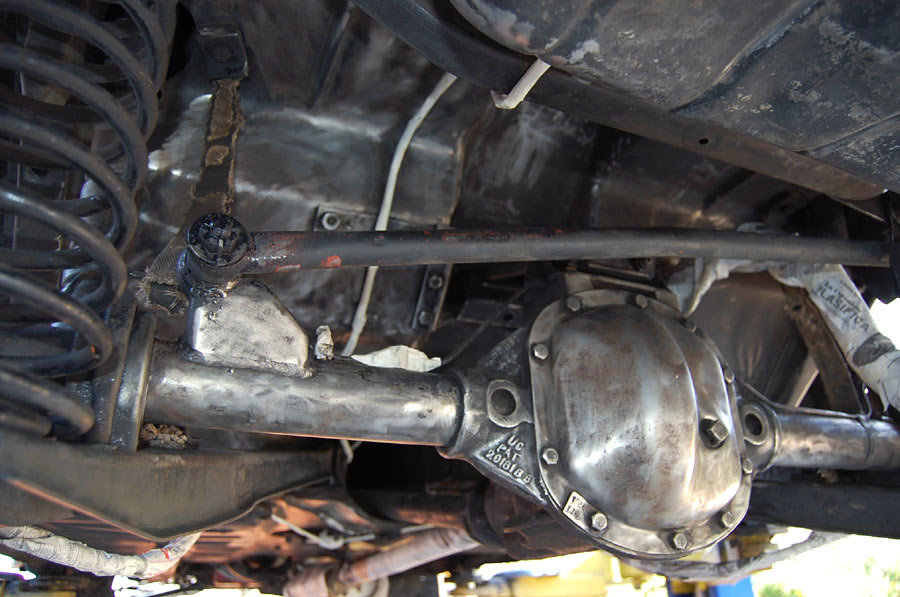
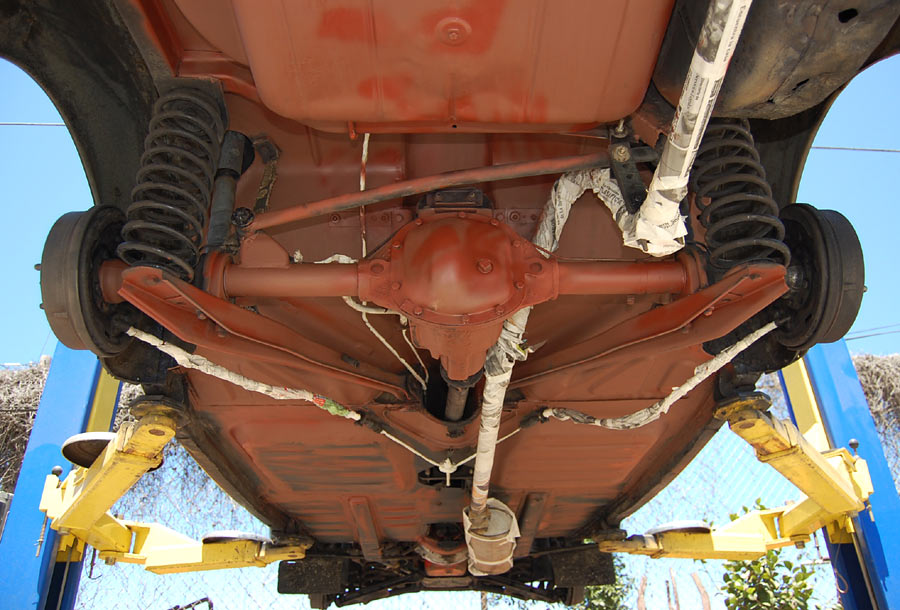
After the Fertan was rinsed off and the undercarriage was dry again, I used wire brushes, sand paper, and lots of ellbow grease to prep it as good as possible for the all-important coat of self-etching primer.

Click on the above image for an XXL-sized view (900 x 600 pixels)
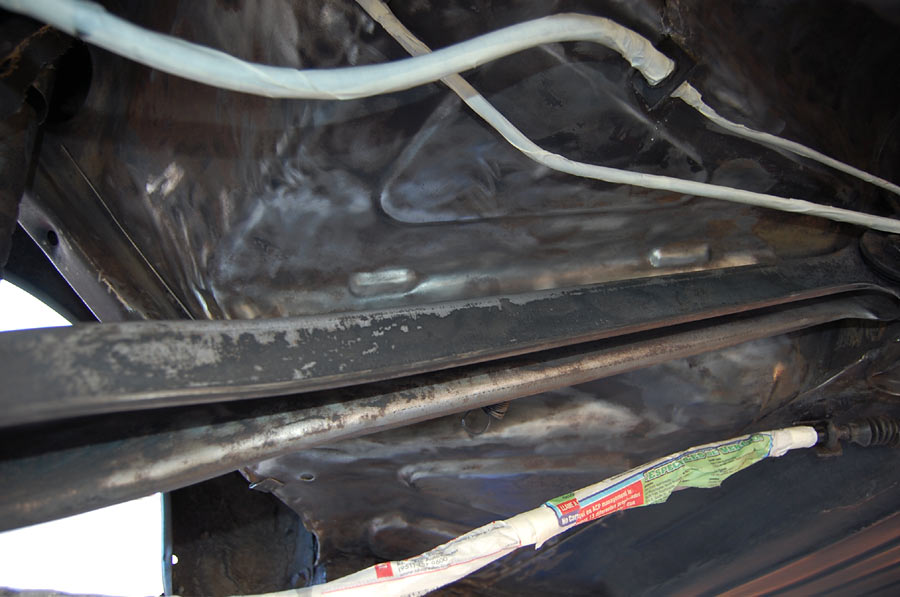
While not as "perfect" and surgically clean as a fully stripped undercarriage, it certainly is the next best thing and, when finished, will not only look good, but provide protection for many years to come. More precisely, here in Southern California the underbelly shouldn't need attention ever again as long as I will be able to drive that car, and I'll be turning 51 this year, hope to retire at 67, and still want to drive the Volvo in 2024.
Image above: undercarriage wire brushed, ready for primer.
|
|
|
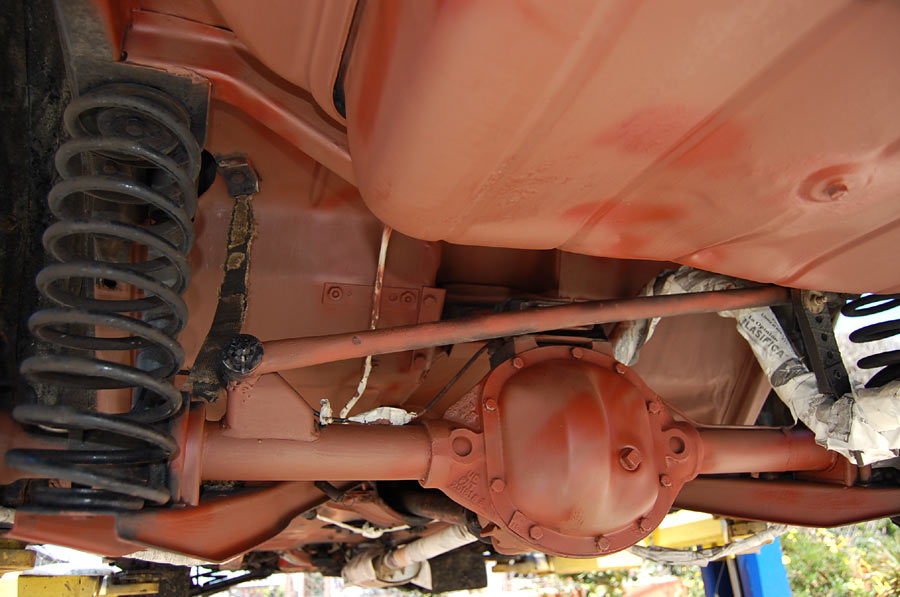
Click on the above image for an XXL-sized view (900 x 610 pixels)
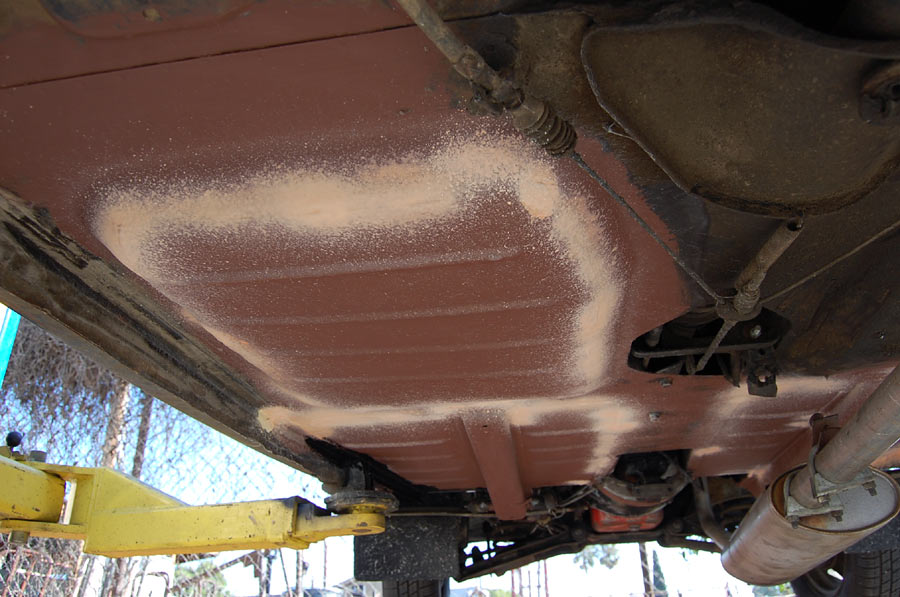
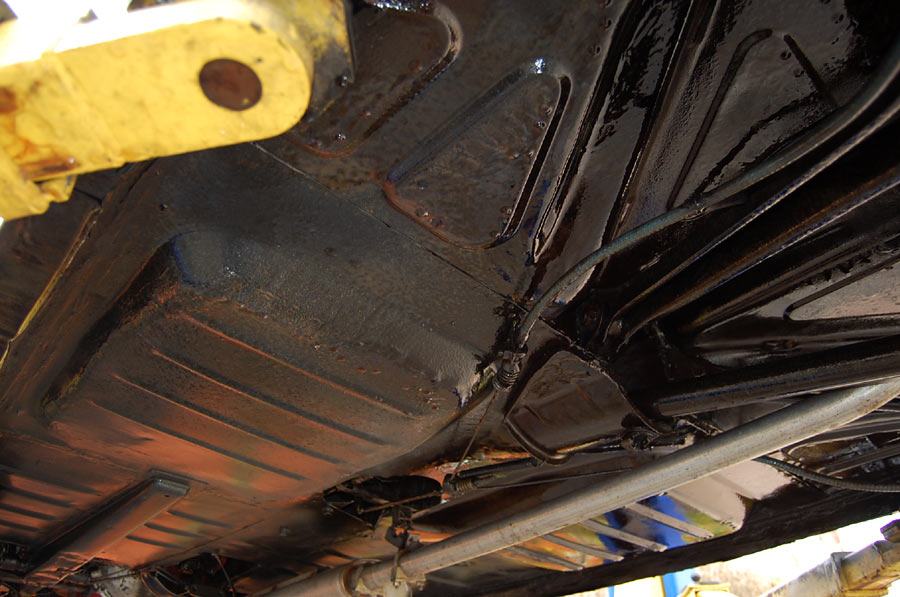
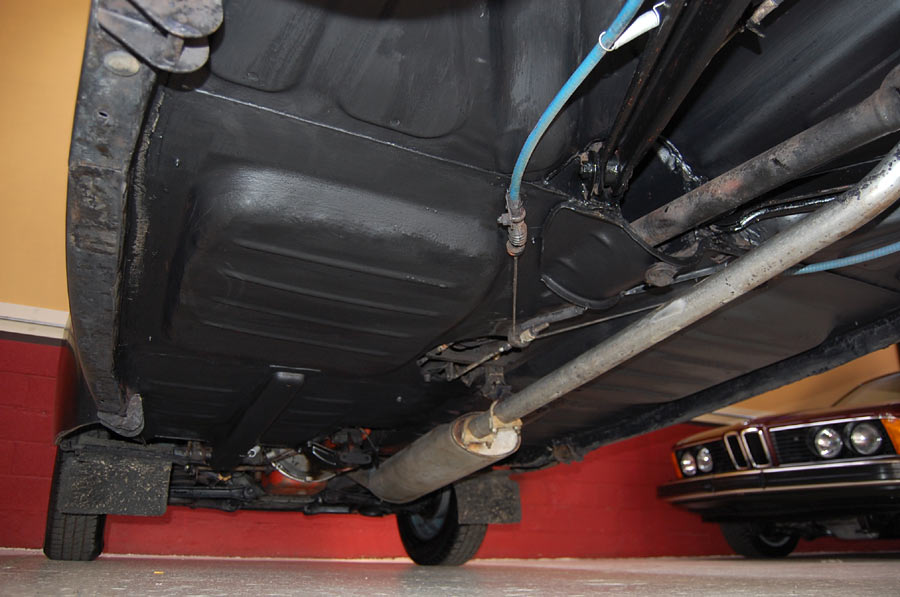
Almost every race car is painted with oil-based Rustoleum enamel paint inside, in the engine compartment, and underneath. Why? That stuff is durable, easy to apply, easy to touch up, and super affordable! Hence, I used Rustoleum self-etching Professional "rusted metal primer" on the Volvo's undercarriage. It is available in quarts and aerosol cans.
Image above: undercarriage in primer, ready for final paint.
|

|
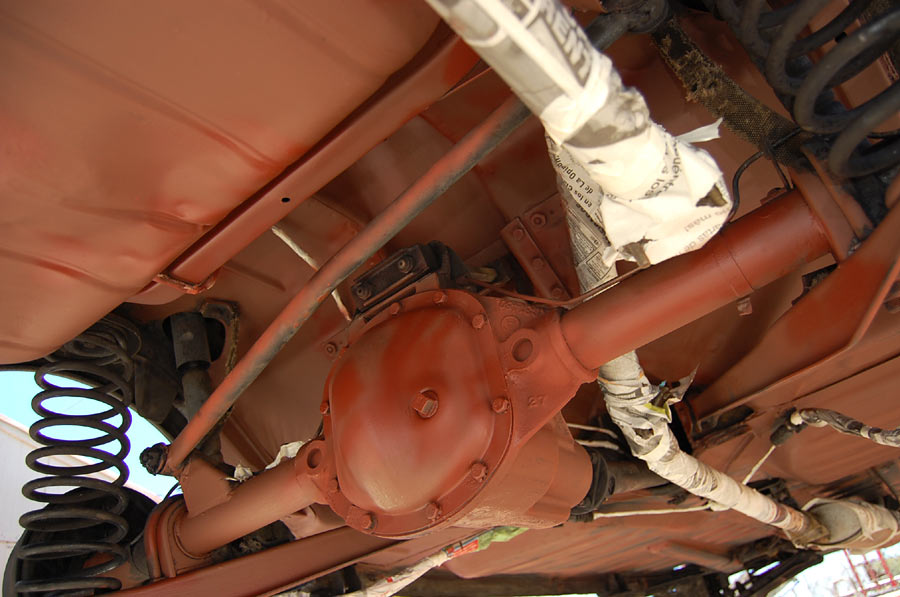
Click on any of the above images for a full-size view
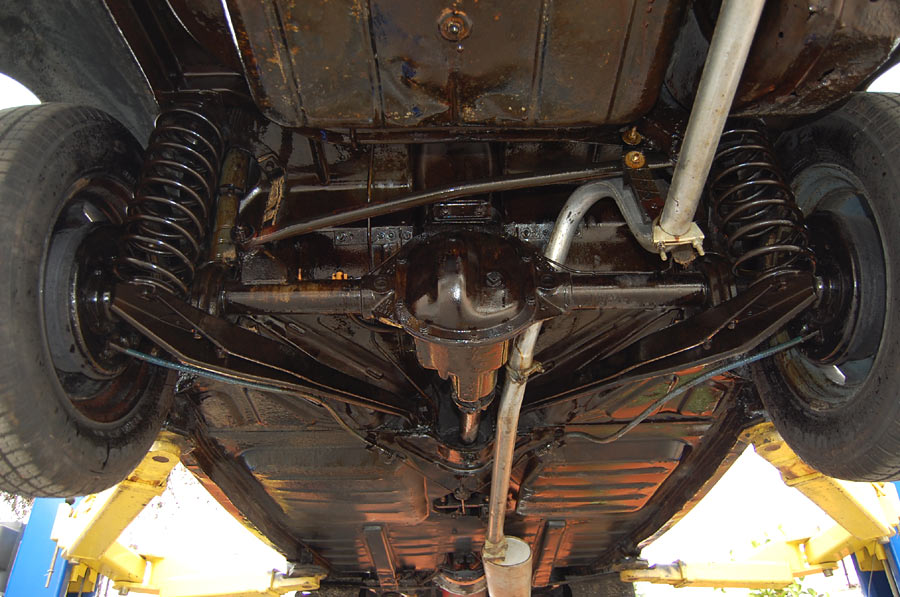
Photos above show the undercarriage painted in semi-flat black, using mostly brushes and only in hard-to-reach areas a spray can. There are still some brush strokes visible in the paint, so at some point I will wet-sand some areas with 400 grit paper and touch them up with spray paint for a smoother, more factory-finished look. However, for the time being it looks clean enough for my liking and I'm moving on to other areas.