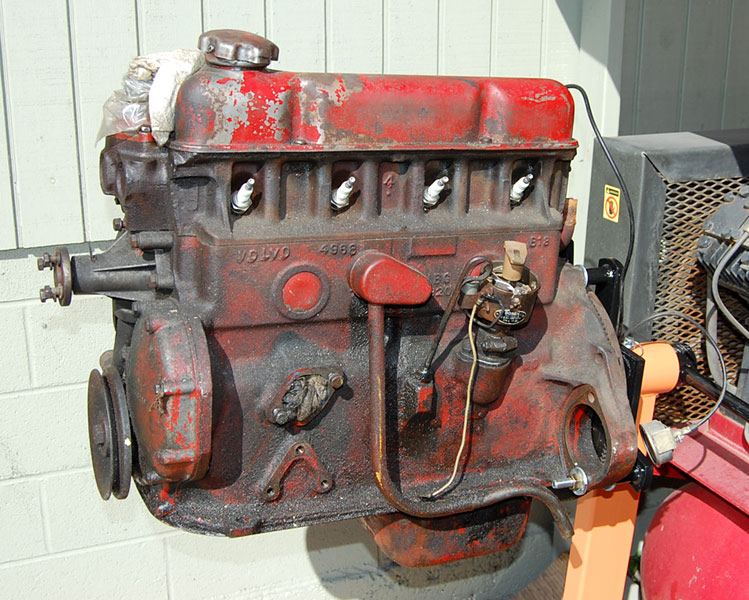
Volvo's cast iron B18 and B20 pushrod engines have a reputation of being almost indestructible. Many of those 4-bangers have provided hundreds of thousands of miles of loyal service and the passenger car with the highest recorded mileage in history--Iv Gordon's 2.6-Million-mile Volvo P1800--has been propelled by nothing but a B18. The engine is based on Volvo's truck V-8, cut in half, yet retains its huge main and connecting rod bearings. Thus, the bottom end is built as sturdy as it gets and will withstand severe use and abuse for a long time.
Click on the above image for an XXL-sized view (950 x 593 pixels)
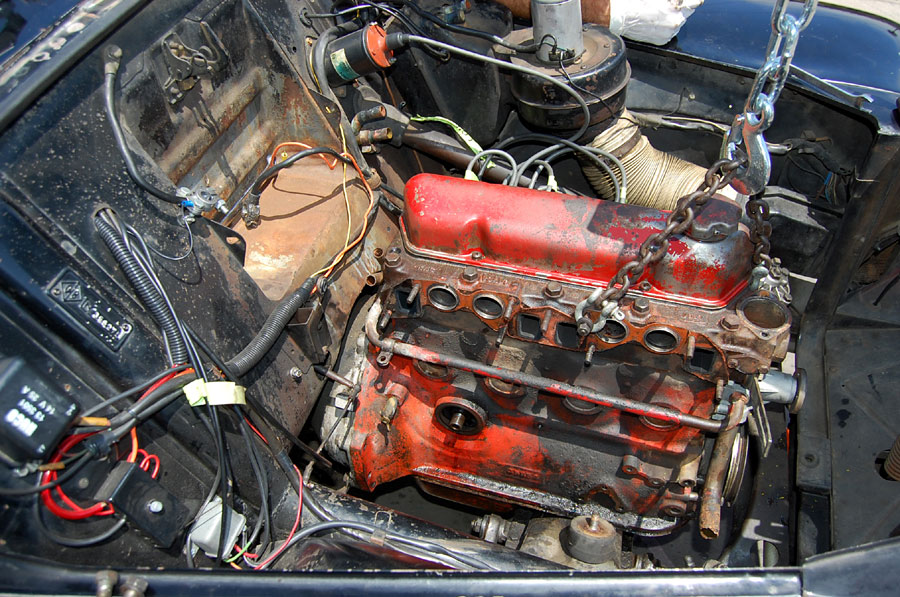
To this day I do not know how many miles my car has accumulated, but its engine was running strong, despite the fact that it was burning oil and leaking the same from various spots. I didn't care and drove the heck out of it, knowing that in case it breaks, I would have a good used engine ready to be installed. I had bought this engine for $250 late in '08, supposedly out of a '67 PV122 wagon with only 86K miles on the clock. The seller, a fellow Volvo enthusiast, assured me that he had heard it running before removing it from the car and it was running fine.
Alrighty, then!

|

|
|
When my old engine finally started to lose compression on one cylinder, I initially only intended to clean up the good used one and install it into my car.
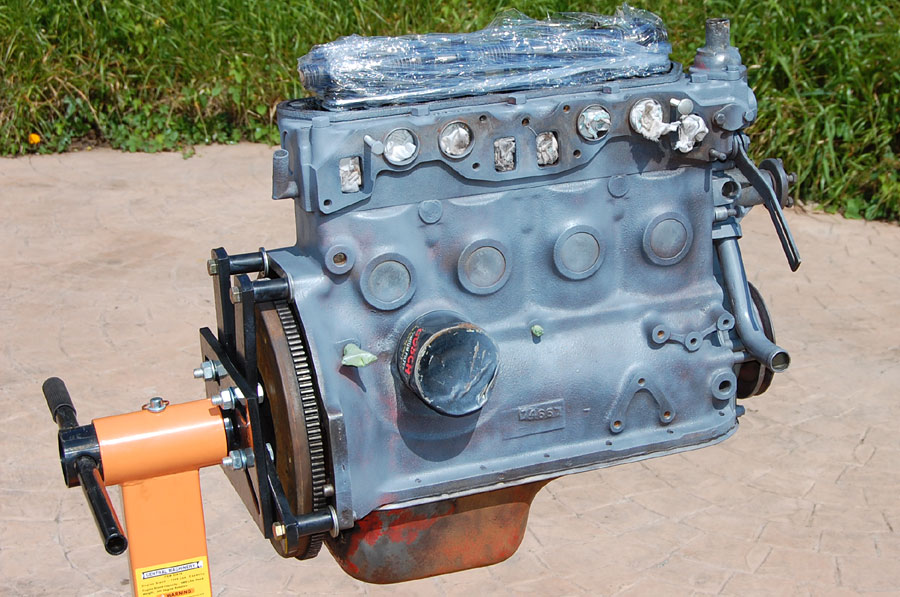
I pressure-washed, sanded, and painted the motor in BMC green, which is the color Volvo used on their earliest PV444 engines. When removing the timing cover to check the condition of the front main seal, I noticed not only an almost new fiber gear set, which is a good sign, but also the absence of the felt seal itself, which is a really bad sign, as the "good running" engine would have pumped oil like crazy.
This concerning discovery caused me to have a closer, more thorough look at the "low mileage" engine.

|
|

|
Click on any of the above images for a full-size view
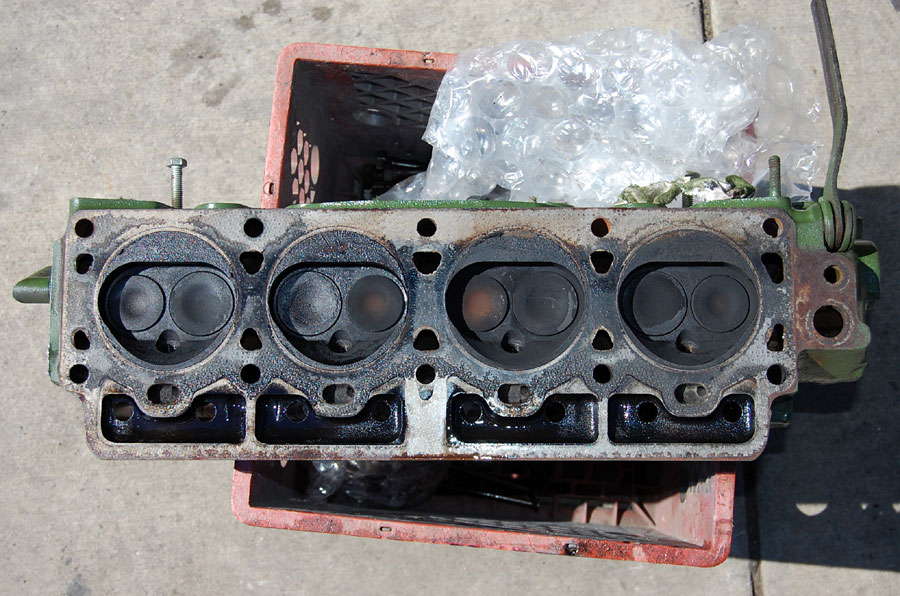
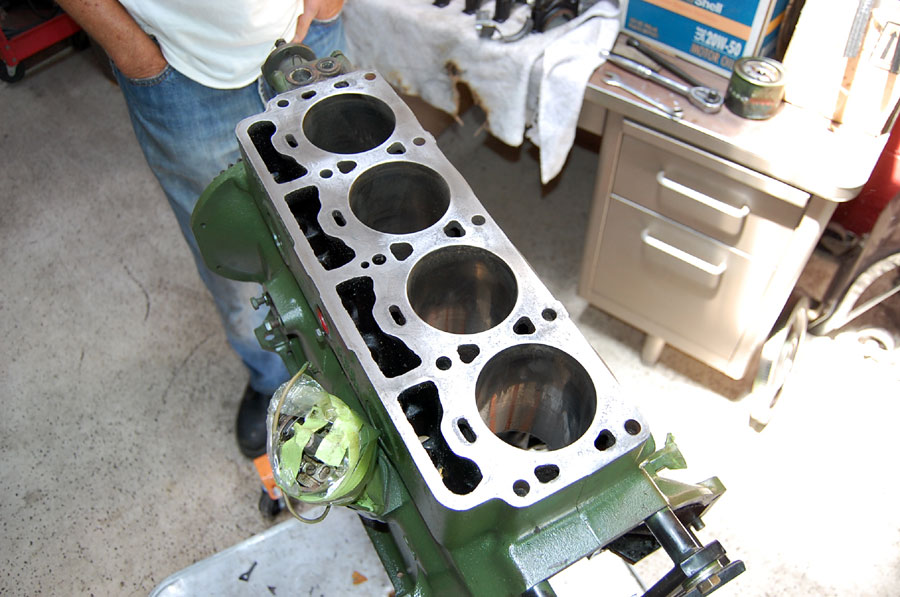
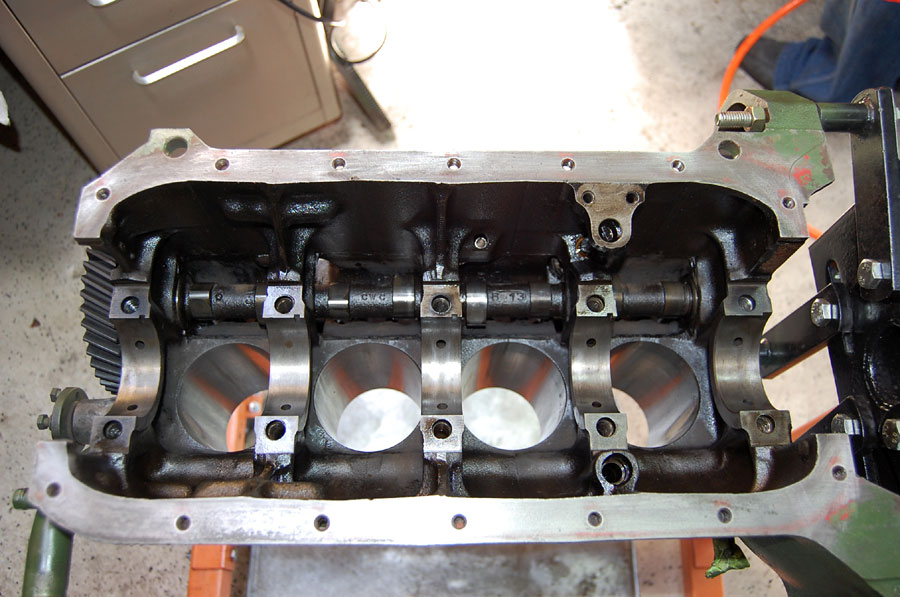
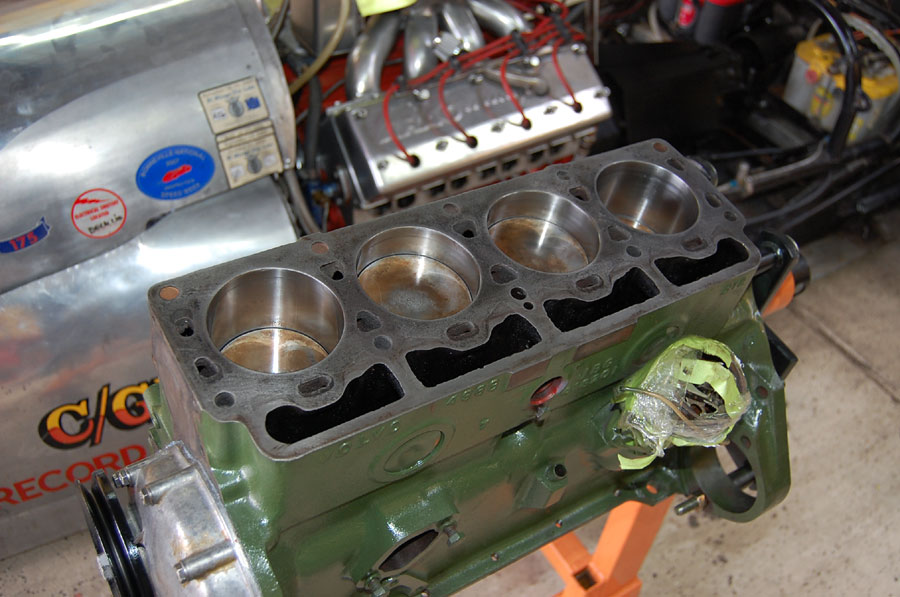
Pulling the oil pan and looking at the crank bearings revealed a .010" underbore, which then triggered the need to pull the head in order to check out the pistions and cylinder walls.
You can imagine my surprise when I found them to be .040" oversize! Clearly, this engine had been rebuilt not many miles ago, but I decided to check out everything and redo as needed anyway. Better safe than sorry!
|
|
|
|
Click on any of the above images for a full-size view
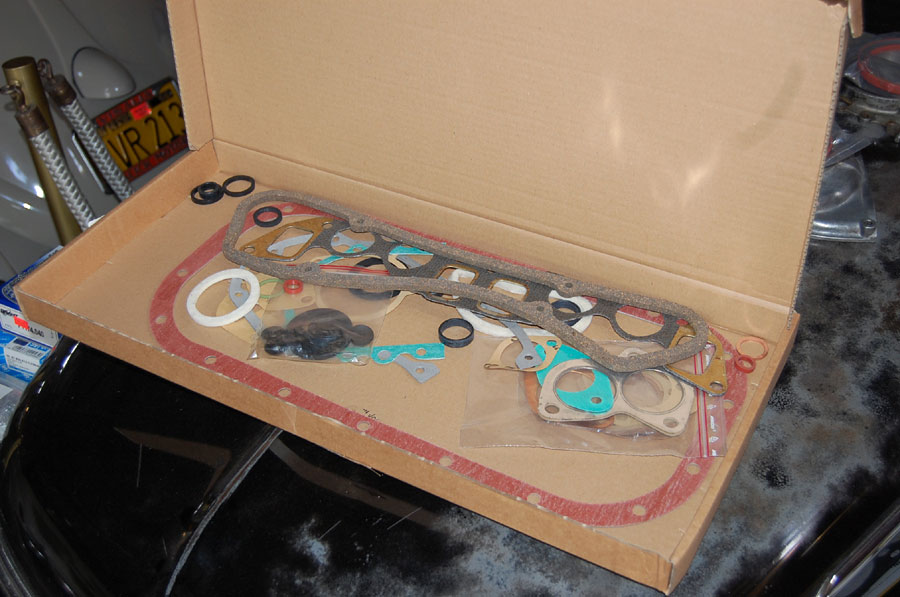
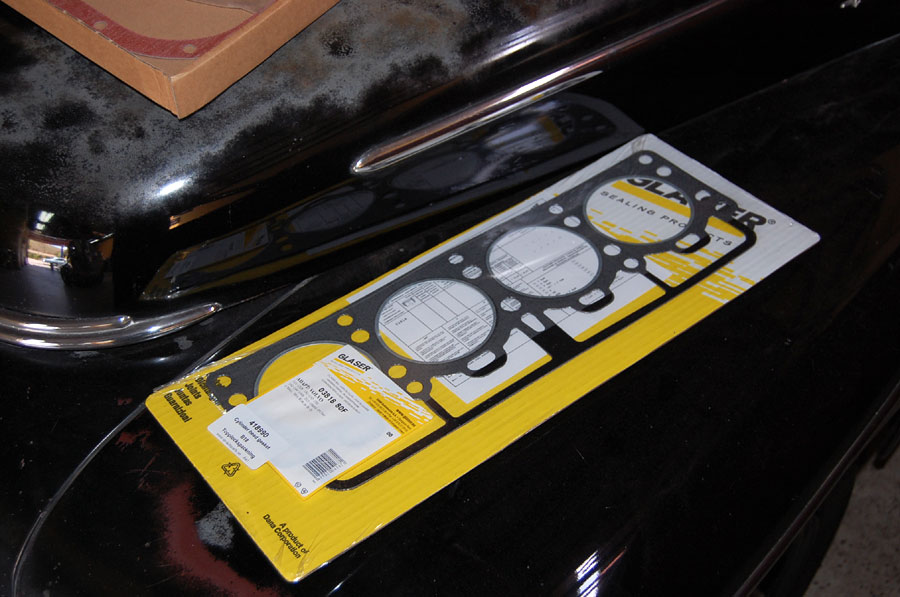
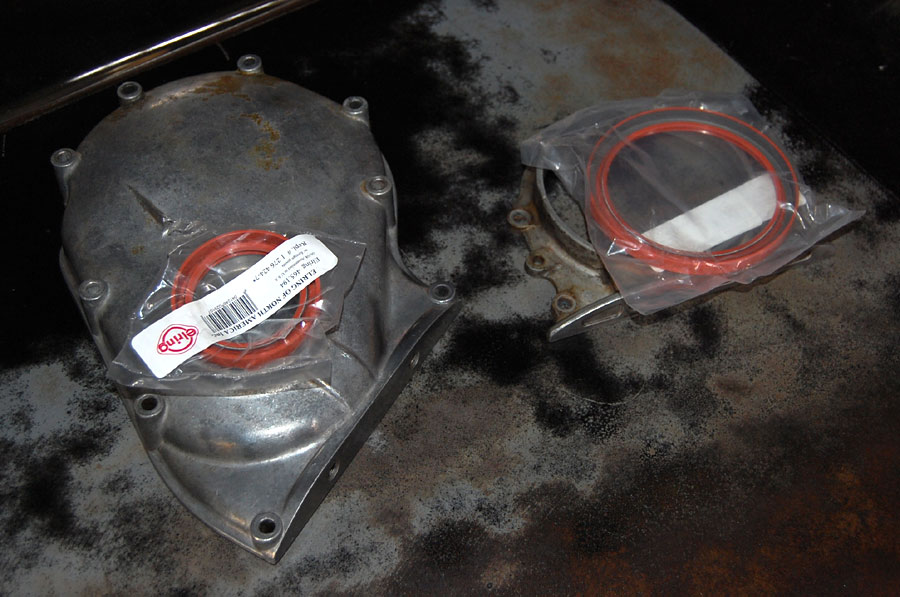
From VP Autoparts I ordered an engine gasket set, (.040") piston ring set, (.010") main and rod bearing sets, a new water pump, thermostat, and an engine workshop manual, all of which set me back $388.60. From Vintage Performance Parts (a.k.a.. John Parker) I ordered machined front and rear engine covers with updated silikone crankshaft seals. At $144.50 they are priced attractively, yet the waiting time of several months accompanied by empty promises and numerous unanswered e-mails spoiled the experience entirely.
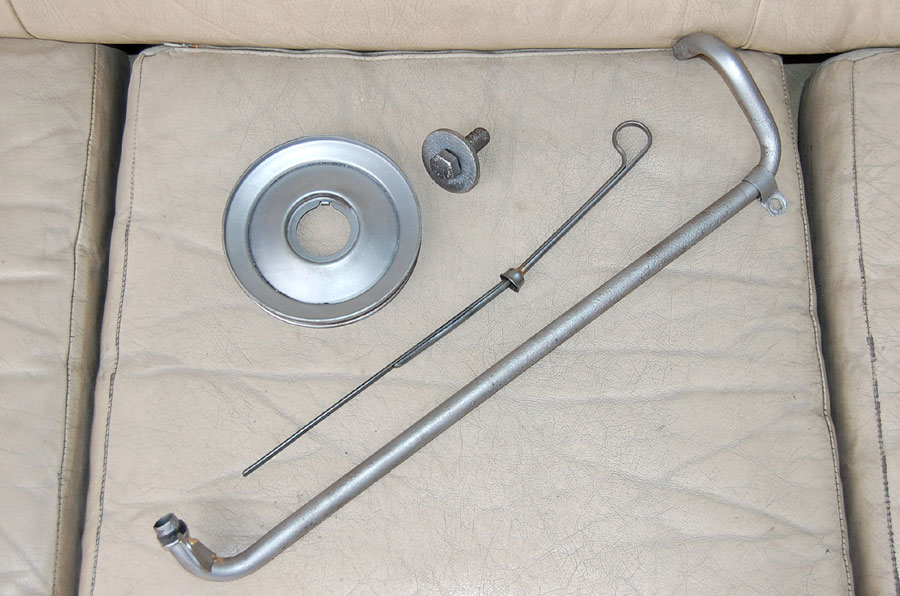
While waiting for the parts to arrive, I media blasted and painted all of the hardware.

|
|
|
Click on any of the above images for a full-size view
Once all the parts were at hand, I cleaned everything thoroughly and carefully, honed the block, and found the camshaft's lobes to be "like new," further confirming that this engine had not accumulated much running time. Just like the front crank seal, the rear main seal was non-existent, adding to the mystery. Had I installed the engine based on the seller's promise that it was running fine, I would have experienced an oil spill of epic proportions.
Lesson to be learned from this: if you do nothing else, always remove the timing cover and check the timing gear and the front main seal.
Click on the above image for an XXL-sized view (900 x pixels)
In retrospective I have to admit that the Volvo B18/B20 engine is as easy to assemble as it gets. Double check that the cam and crank gears line up, torque everything by the book, use a good engine assembly lube, and make sure everything moves freely before you move on to the head.

|
|

|
Click on any of the above images for a full-size view
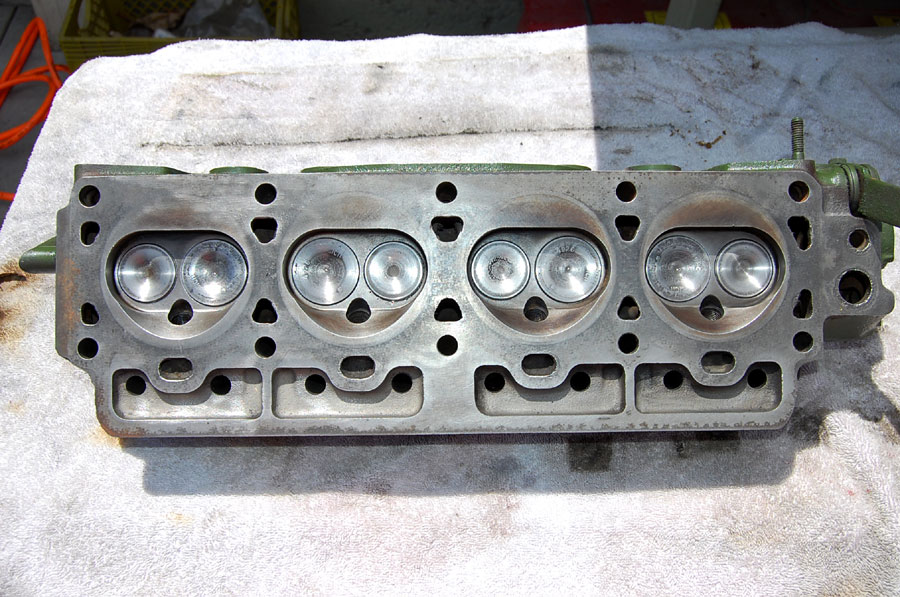
To establish the condition of the valves, we put the head upside down and poured some gasoline into the combustion chambers. There was some leakage through to the other side, but not much, so all we needed to do is give the head a simple valve job to assure that we won't have any compression loss though the head.
|
|
|
Click on any of the above images for a full-size view
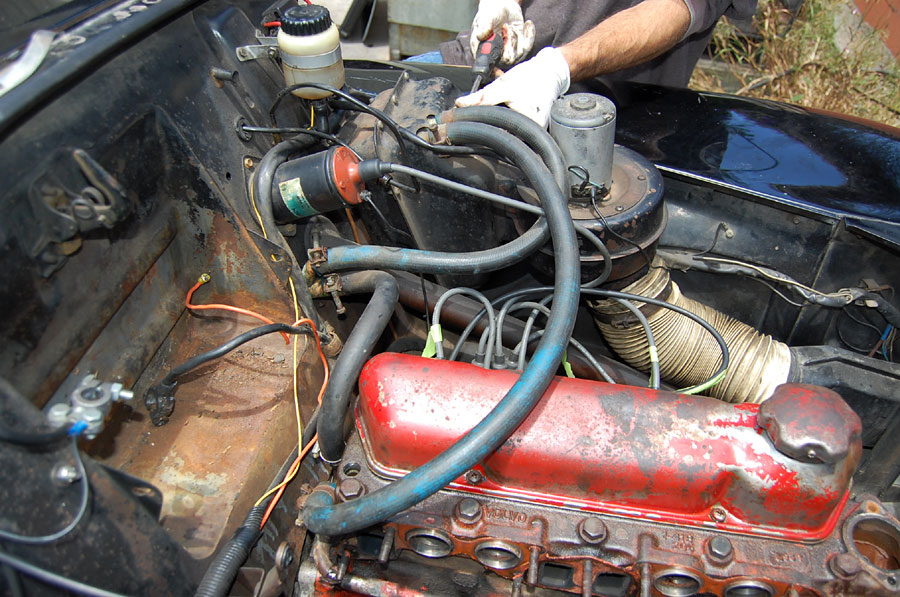
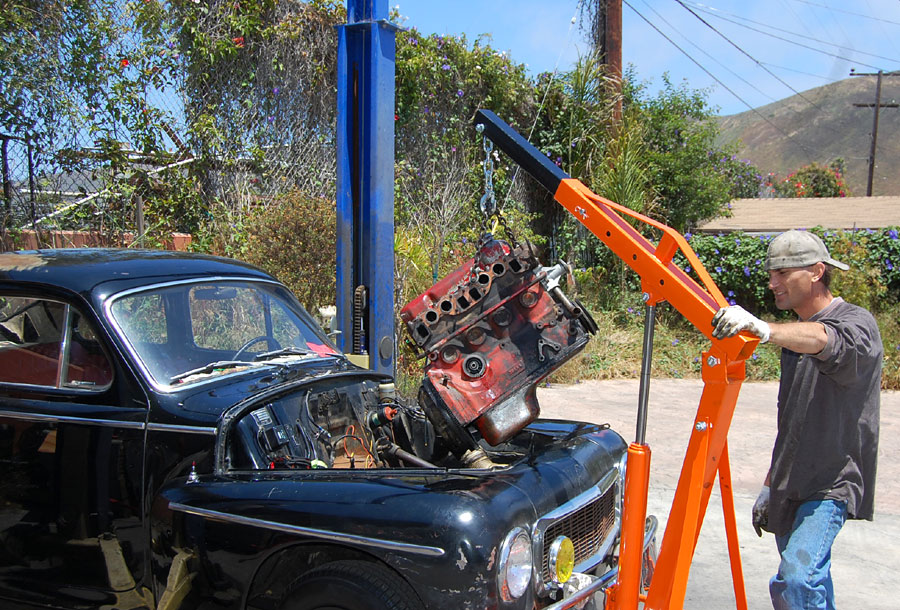
The experts advised us to remove the engine and the transmission as one unit. Inspecting everything, we decided to leave the transmission in the car and remove only the engine. Once the hood was off the car and oil and coolant were drained, I removed hoses and radiator, fan, pulley, oil filter, generator, intake and exhaust manifold starter, in this order. Both motor mounts had to be removed in order to drop the engine on the cross member in order to access the bellhousing's upper two bolts. At that time it made sense to remove the starter as well.
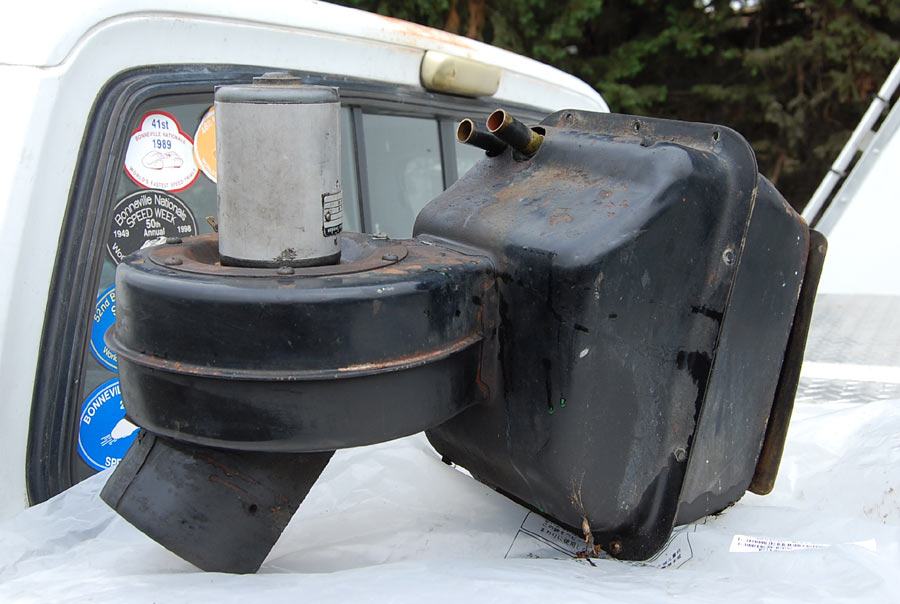
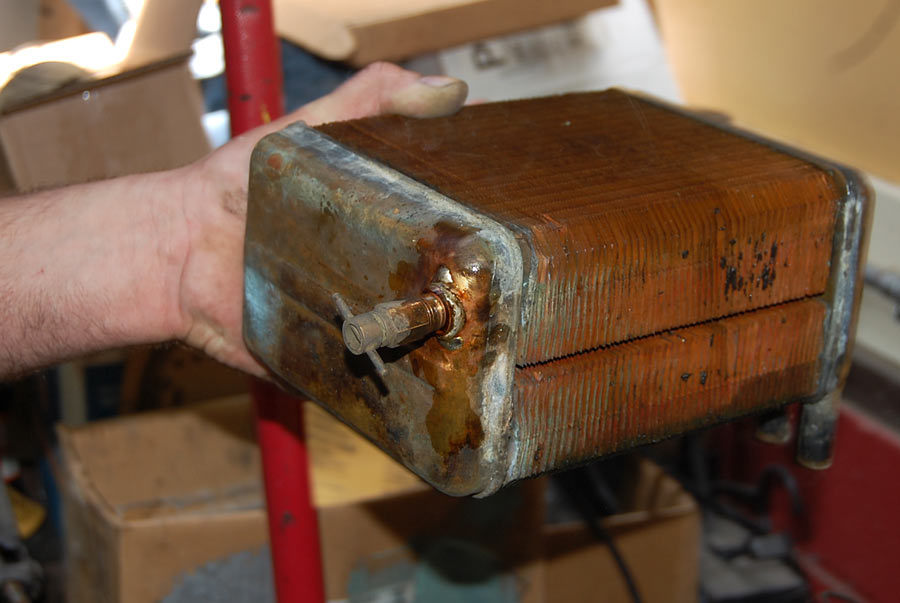
Installing the new engine was actually easier than removing the old one. However, when attaching the new heater hoses to the heater core, I managed to break one of its necks. Bummer!
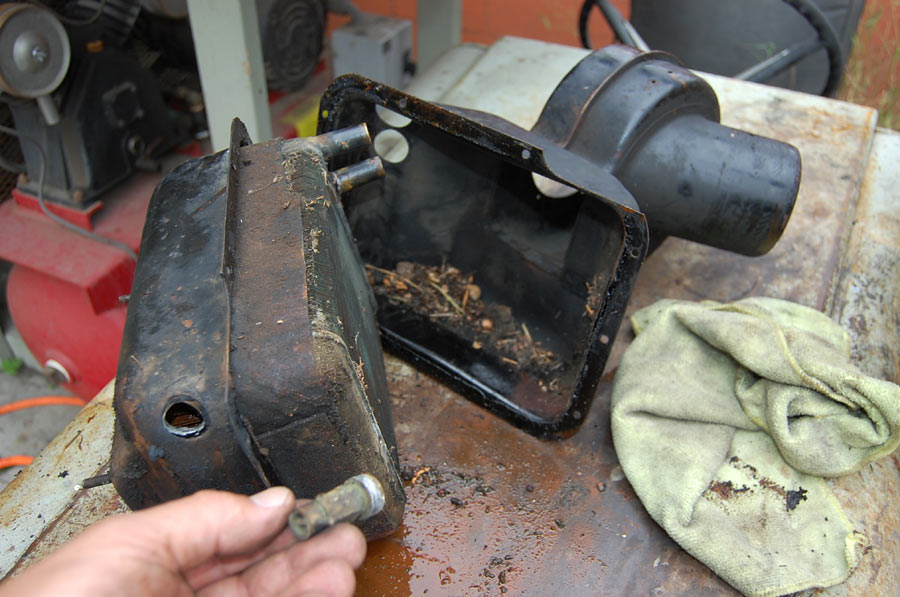
In order to access the heater core, the entire heater unit has to be removed from the car. Sounds complicated? It isn't. All it involves is removing 4 nuts on the inside, then sliding the unit out, which is a 5-minute job. The same operation in a modern car involves removing the dashboard and handing over a check for thousands of dollars, literally.
|
|
|

|

|
|
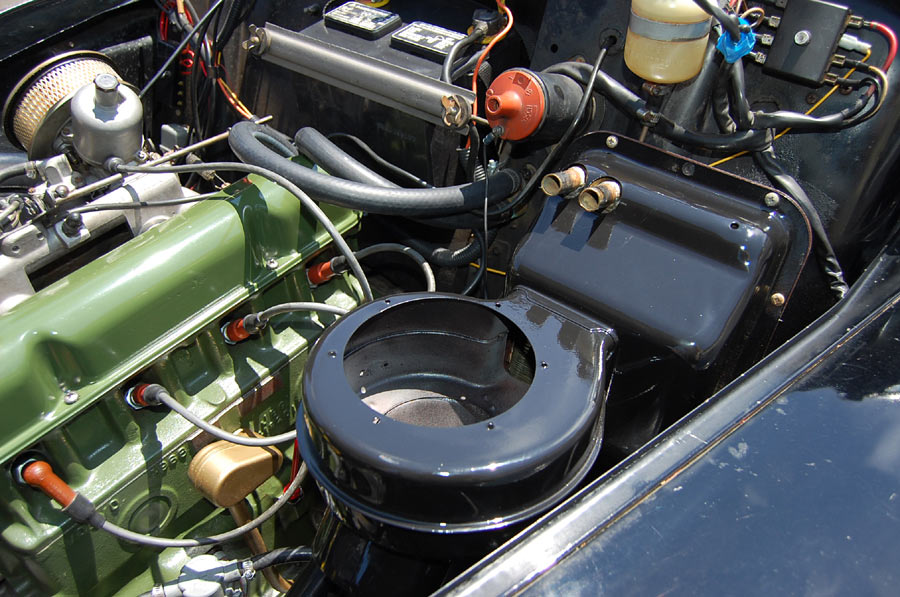 |
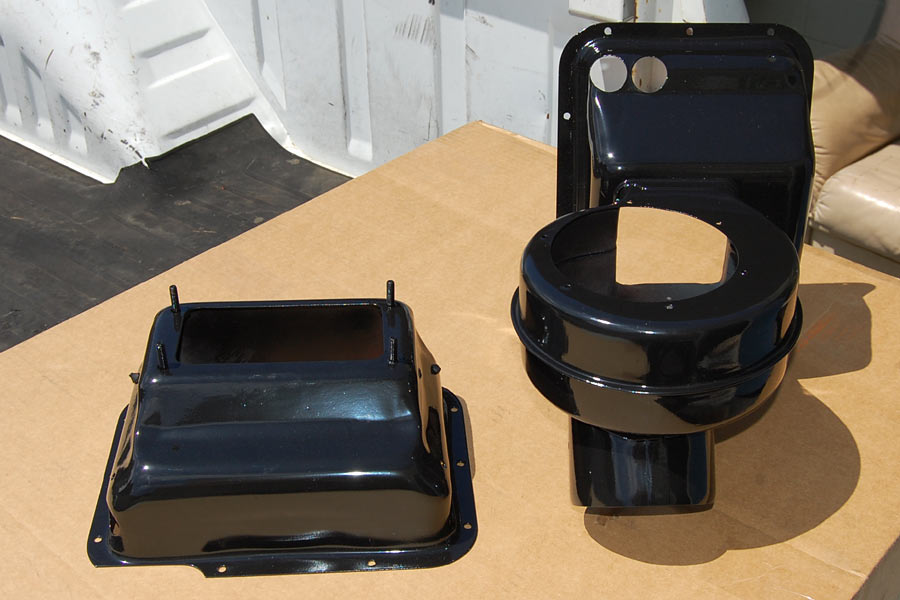
Our in-house Mc Guiver Helmut soldered all 3 connectors in his "more is better" fashion; I media-blasted the housing, then primered and painted it in gloss black before putting everything back together. The fan motor was installed with new hardware and a set of new 5/8-inch heater hoses completed the surgery. |
|
|
Click on any of the above images for a full-size view
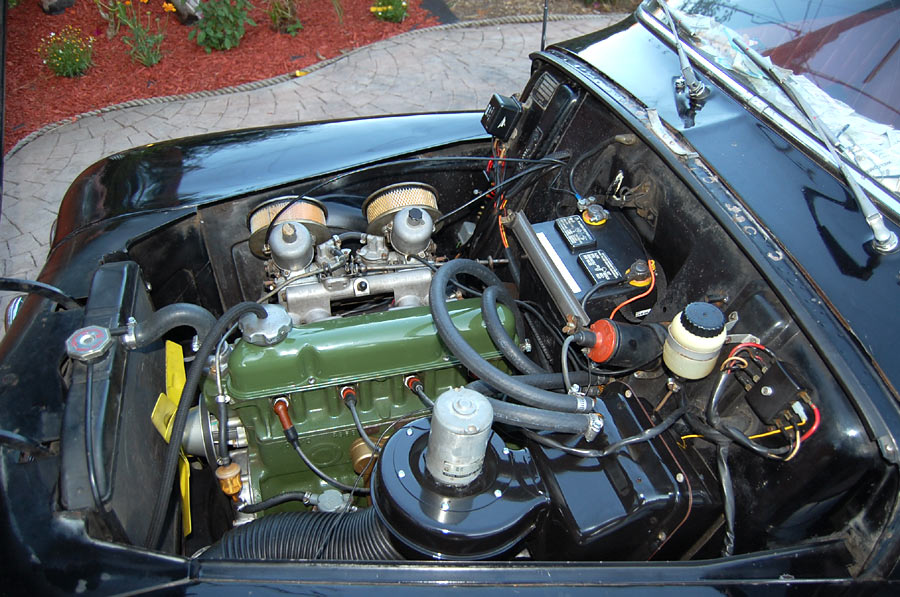
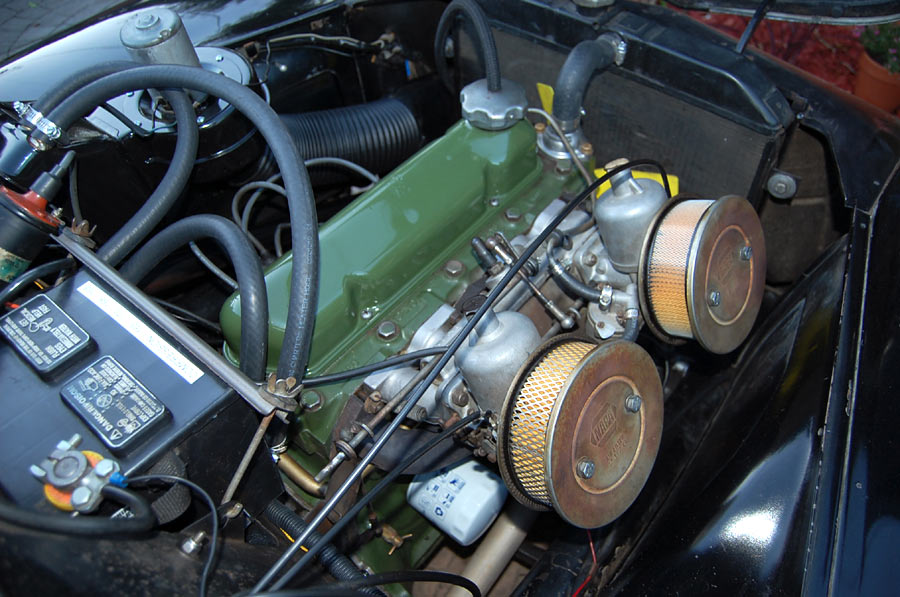
Once everything was back together, I set timing and readjusted the carburetors from scratch. I then carefully started breaking in the newly rebuilt engine.
|
|
Click on any of the above images for a full-size view
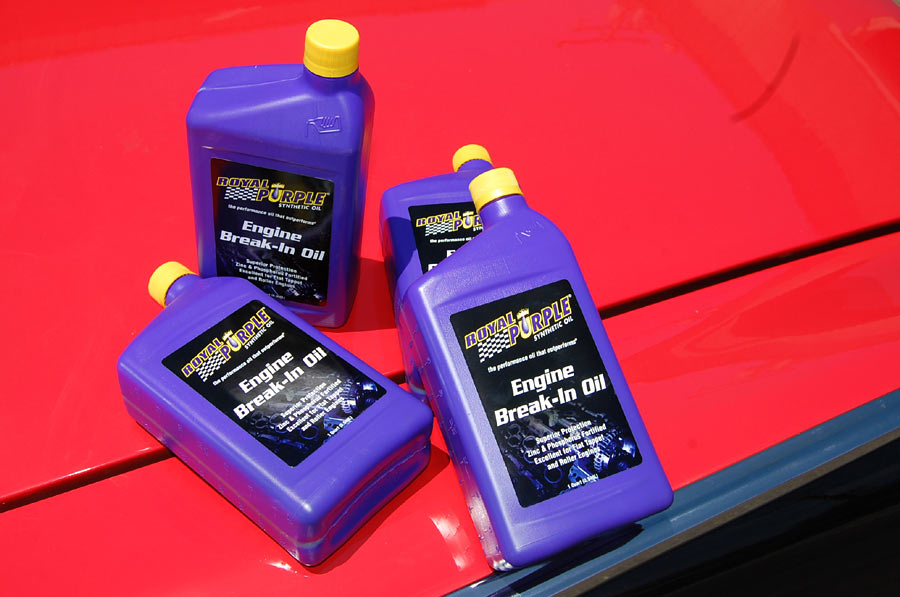
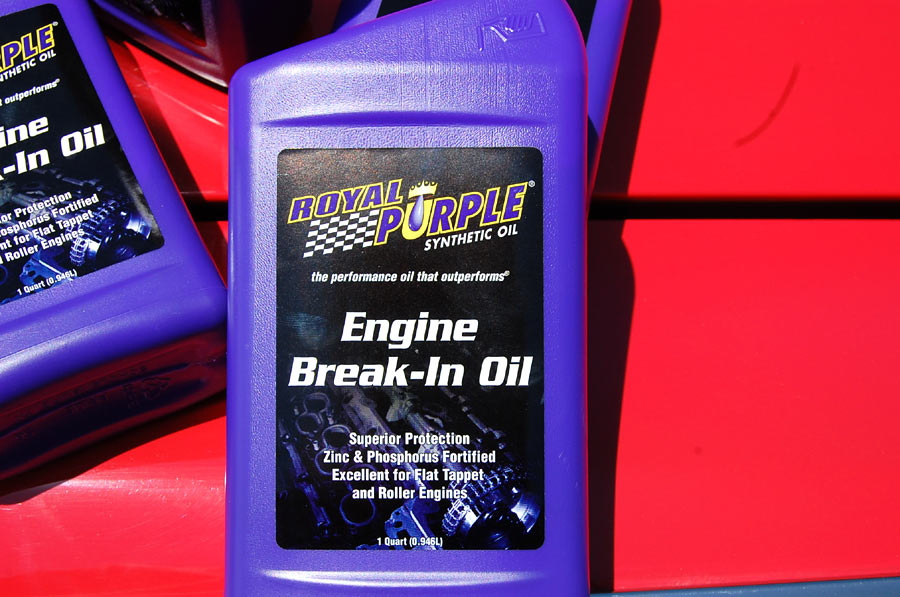
In the old days we used single weight, non-detergent engine oil for this purpose, but in the new Millennium the hands down best oil for this is Purple Power's Engine Break-In Oil. Since it's highly unlikely that you'll find it in any autoparts store, you may want to order it online for about $7.63 per quart (standard shipping included). If your new-born engine's happy, you'll be happy!

Click on the above image for an XXL-sized view (900 x pixels)
Right after the first run, engine compression was: 155/164/160/159, indicating that the piston rings would need to set properly. A few days and about 100 miles later compression reading improved on all 4 cylinders to 165/170/168/165, which is pretty darn good already.
I changed oil and filter after about 100 miles, again to the same Royal Purple Break-In Oil, then kept breaking it in for another 1,400 miles, during which time I pulled and checked the spark plugs frequently in order to achieve a close-to-perfect air/fuel ratio. Finally, on October 20, after a 200-mile round trip to the Pomona Swap Meet with the engine humming happily between 4,000 and 4,500 rpm and everything felt right, I switched to Royal Purple 20W-50 fully synthetic High Performance Engine Oil.